
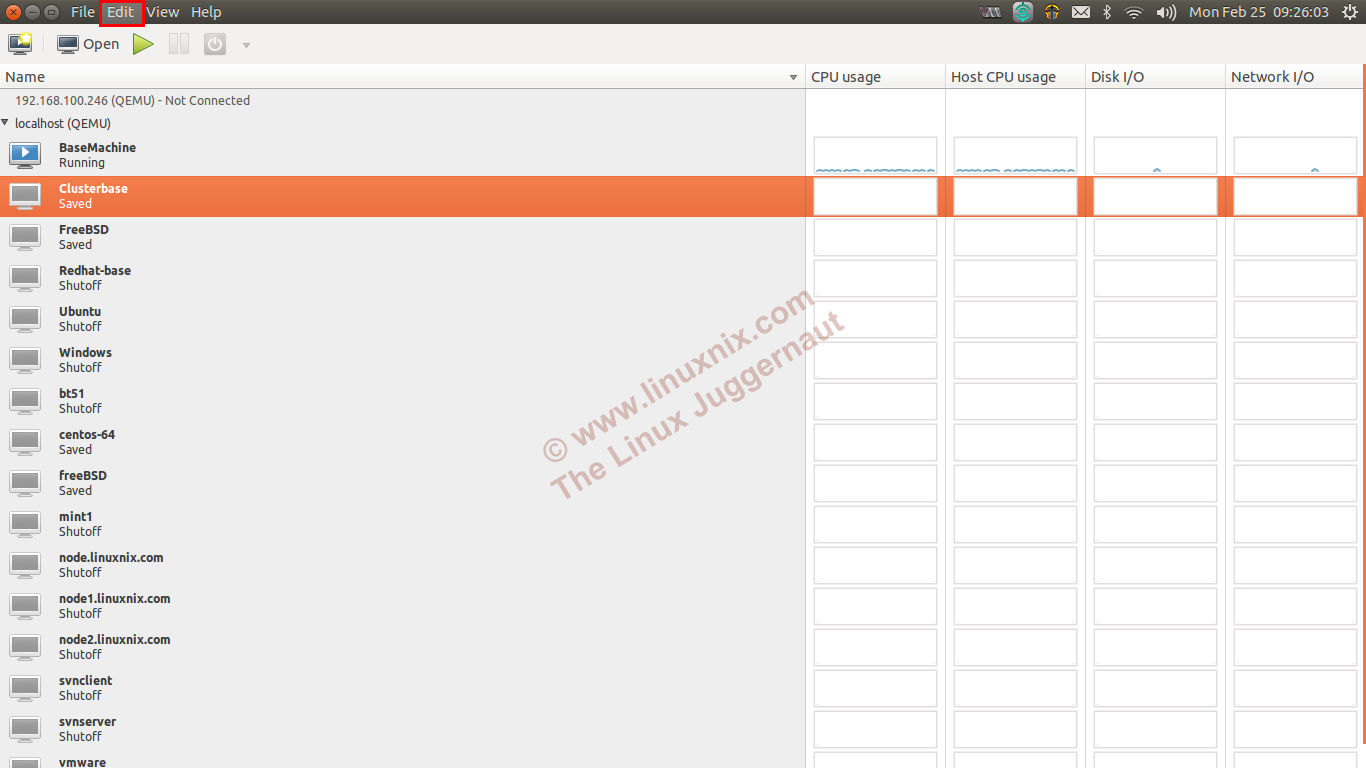
In this post we will see how to set up networking for KVM hypervisor. Networking is an important part in implementing Virtualization as without networking VM’s can not communicate with each other. Below are the some of the topics covered in this series.
- What is Virtualization in Linux way?
- Types of Virtualization available in Linux/Unix
- Advantages of Virtualization
- What is KVM virtualization in Linux?
- KVM Virtualization: Find Hardware support KVM/VMware ESXi or not?
- KVM virtualization: Install KVM hypervisor in Redhat/CentOS/Fedora Linux?
- KVM virtualization: Install KVM hypervisor in Ubuntu/Debian Linux?
- KVM virtualization: Install Ubuntu Linux as Guest OS in KVM hypervisor?
- KVM virtualization: Install Redhat/CentOS/Fedora as Guest OS in KVM hypervisor?
Some advantages of networking:
- Your VM can communicate with Hypervisor or machines through network.
- Can take remote connection to VM from outer network and Internet.
We can connect VM’s to networking using two techniques
- NATing: In computer networking, network address translation (NAT) is the process of modifying IP address information in IP packet headers while in transit across a traffic routing device..
- Bridge network:Network bridging describes the action taken by network equipment to allow two or more communication networks, or two or more network segments, to create an aggregate network.
–From wikipedia
In this post we will see how to do NATing can be done through GUI and some come commands related to networking. Before enabling networking we have to implement IP forwarding on KVM hypervisor.
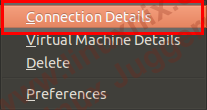
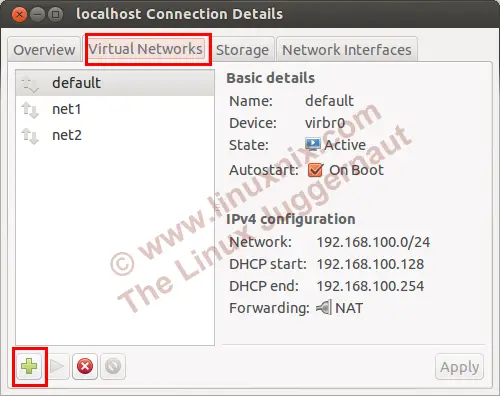
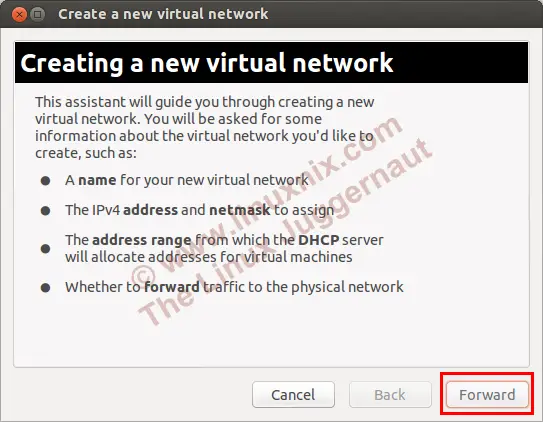
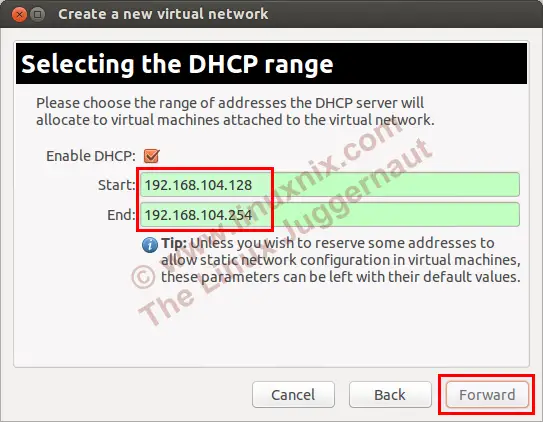
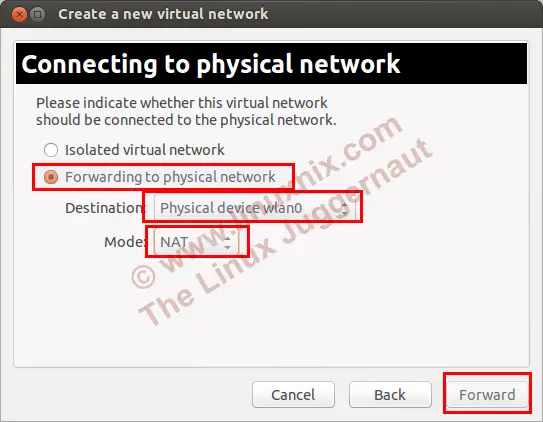
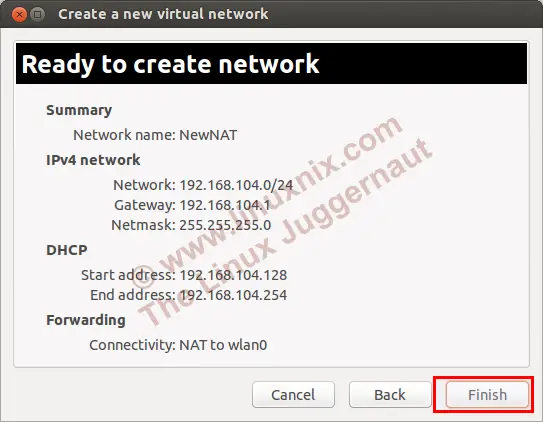
Implementing NATing in KVM(Through GUI)


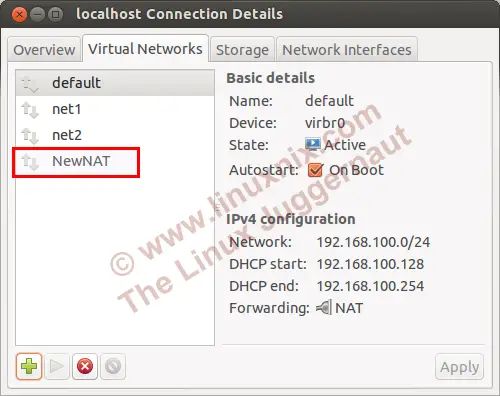


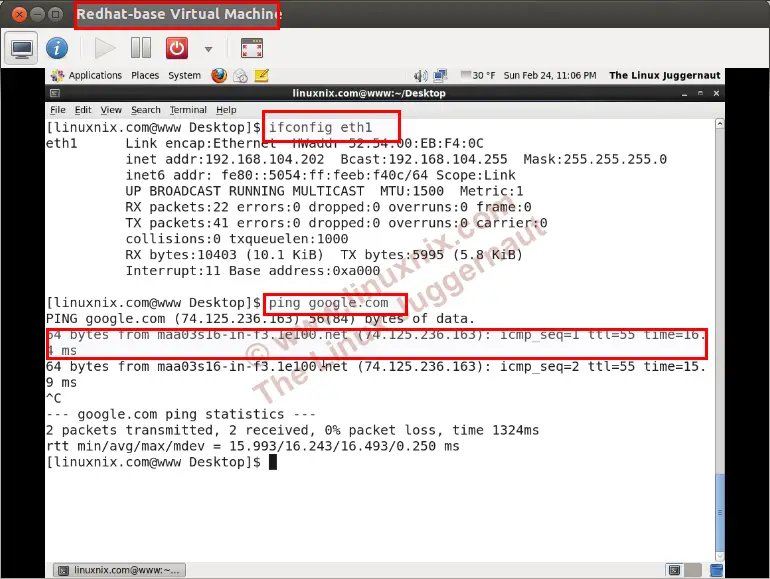
You can see after networking with NAT we can able to ping to google.com. This indicates that networking happen without any issue. Below are some networking related commands you should know.
Through CLI:
Example1: Check if any network is available using virsh command
virsh net-list –all
or
virsh net-list
Output:
Name State Autostart
—————————————–
default active yes
net1 active yes
net2 active yes
NewNAT active yes
Example2: Creating a Network device with NAT
virsh net-create /path/to/your/networking/xml/file
Example:
virsh net-create /etc/libvirt/qemu/networks/SecNAT.xml
Network SecNAT created from /etc/libvirt/qemu/networks/SecNAT.xml
virsh net-list output
virsh net-list
Name State Autostart
—————————————–
default active yes
net1 active yes
net2 active yes
NewNAT active yes
SecNAT active no
Example3: Enable it at the start of Hypervisor
virsh net-autostart SecNAT
Network SecNAT marked as autostarted
Exampl4: To stop an Network device
virsh net-destroy SecNAT
Network SecNAT destroyed
After destroying network, output of net-list command is
virsh net-list
Name State Autostart
—————————————–
default active yes
net1 active yes
net2 active yes
NewNAT active yes
Example5: Want to get more help on networking, use below command
virsh help network
Networking (help keyword ‘network’):
net-autostart autostart a network
net-create create a network from an XML file
net-define define (but don’t start) a network from an XML file
net-destroy destroy (stop) a network
net-dumpxml network information in XML
net-edit edit XML configuration for a network
net-info network information
net-list list networks
net-name convert a network UUID to network name
net-start start a (the previously defined) inactive network
net-undefine undefine an inactive network
net-uuid convert a network name to network UUID
Stay tuned to our next post on “KVM virtualization: How to view guest VM’s in Hypervisor/Host machine?”
Latest posts by Surendra Anne (see all)
- Docker: How to copy files to/from docker container - June 30, 2020
- Anisble: ERROR! unexpected parameter type in action:
Fix - June 29, 2020 - FREE: JOIN OUR DEVOPS TELEGRAM GROUPS - August 2, 2019
- Review: Whizlabs Practice Tests for AWS Certified Solutions Architect Professional (CSAP) - August 27, 2018
- How to use ohai/chef-shell to get node attributes - July 19, 2018

