Today we are going to see the installation of Redhat Enterprise Linux in a detailed way. This post is intended for new users who want to try it out.
About Redhat: Redhat is a pioneer in open source technologies who evangelize the use of open source in enterprise world. Redhat started it’s operations in 1993 after 2 years of Linux OS release. Till 2001 it’s flagship distribution is Redhat(Redhat 1 to Redhat 9 versions released) and from 2002 it distributed two variants of Linux one is Fedora(initial releases are know as Fedora core) which is a community based Linux OS and other Redhat Enterprise Linux(RHEL) which is meant for enterprise users. From 2002 on words Redhat released total of 6 version of RHEL and the next version is due in this year.
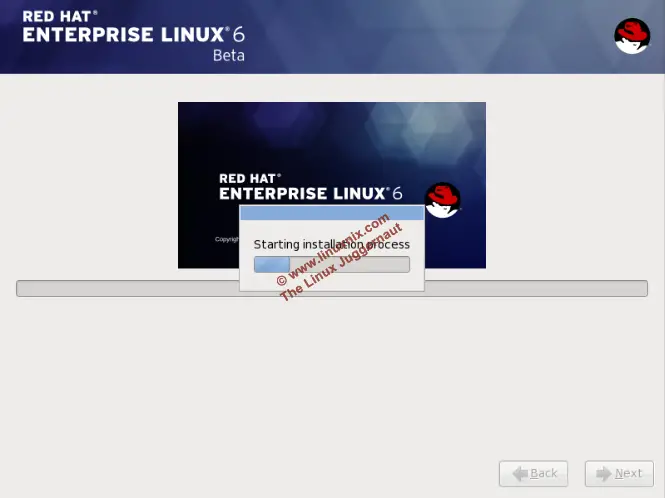
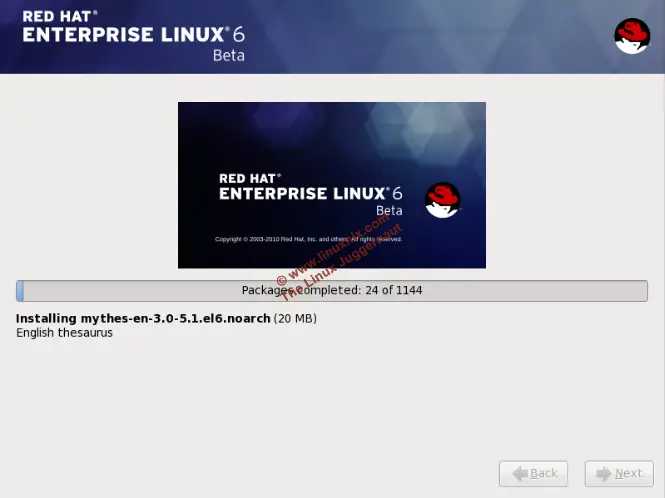
Installing RHEL: We created a screencast for installing RHEL OS as well as video for better understanding it. Check below youtube video
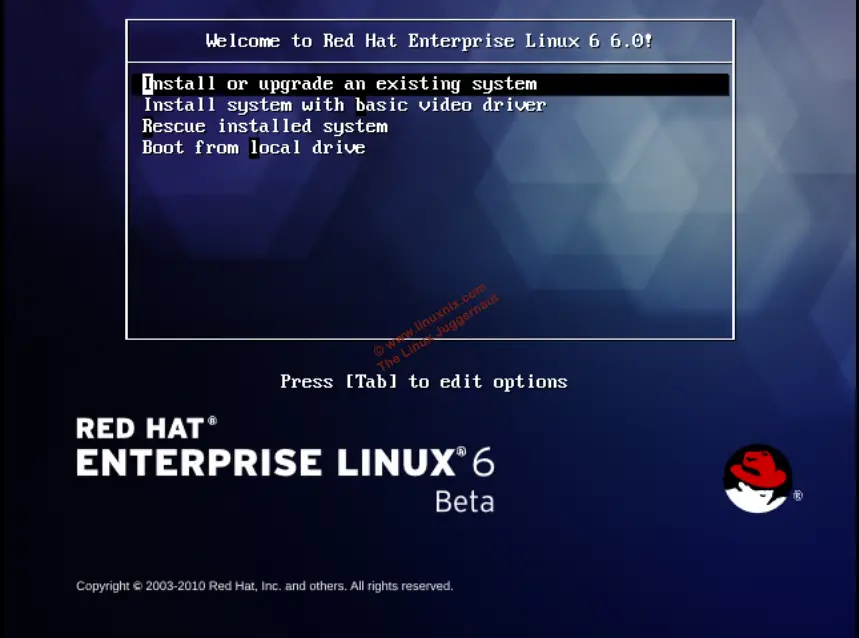
Below is the first screen we see when inserted RHEL6 bootable CD. We get four options to select from
1) Install or upgrade an existing system: This option is useful for upgrading an already installed Linux OS.
2) Install system with basic video driver: This option is for installing a fresh operating system from scratch.
3) Rescue installed system: This option is useful for rescuing an already installed Linux OS, very much useful for rescuing an OS when it’s corrupted or not able to boot.
4) Boot from local drive: This option is for directly booting from a local drive, nothing but canceling OS installation.
From the below given options select second to install a fresh OS.

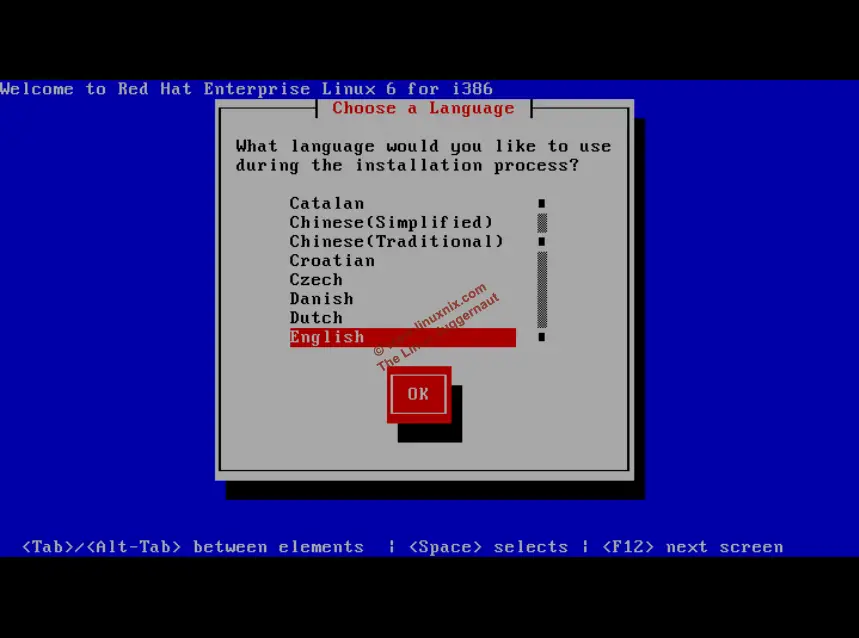
Once second option is selected, vmlinuz and initrd images are uncompressed and loaded into the RAM for installation process. Below screenshot shows the installation process language selection.
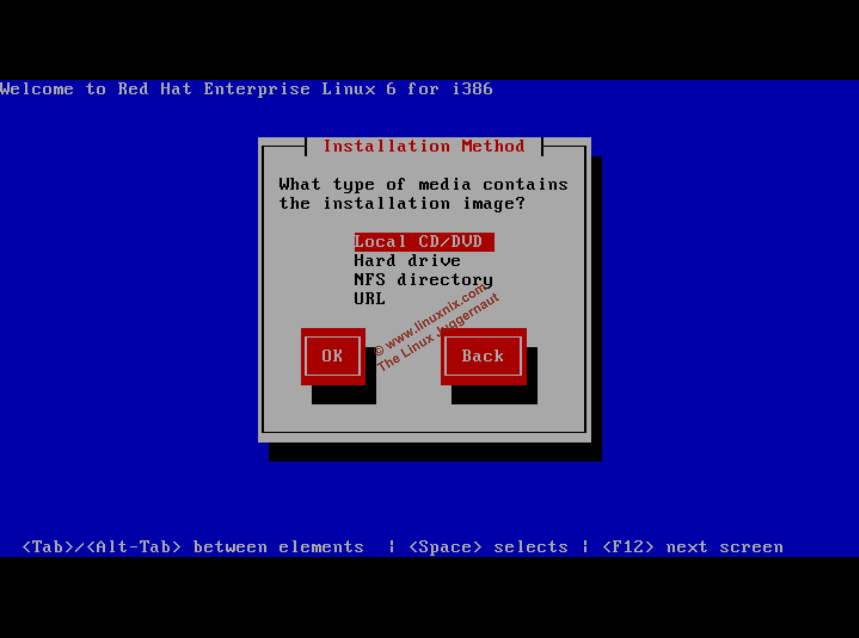
Below is important step in selecting installation source. Select “Local CD/DVD” to install from local drive. Remaining options are useful when you want to install from network and local hard drive.
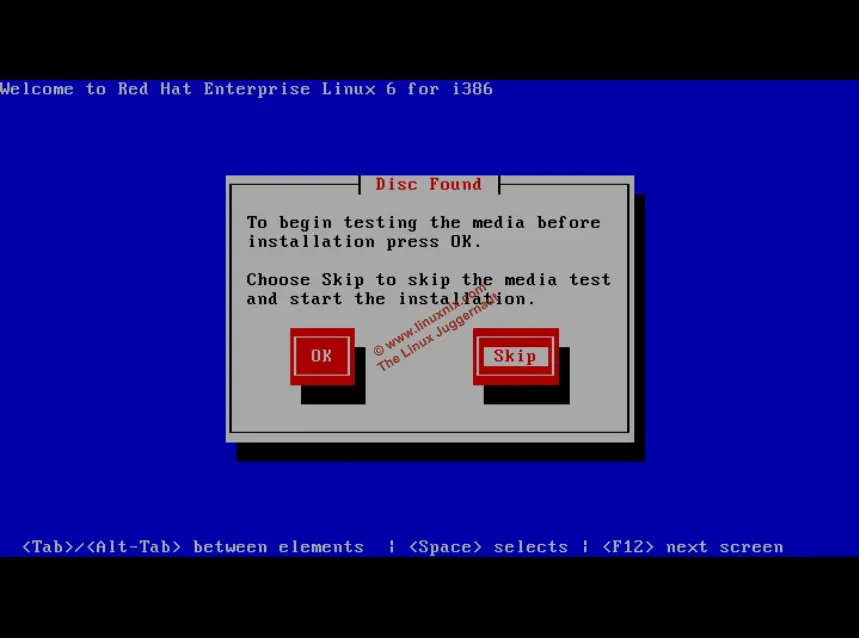
Note: Select skip option if you are sure with CD content are not corrupted.
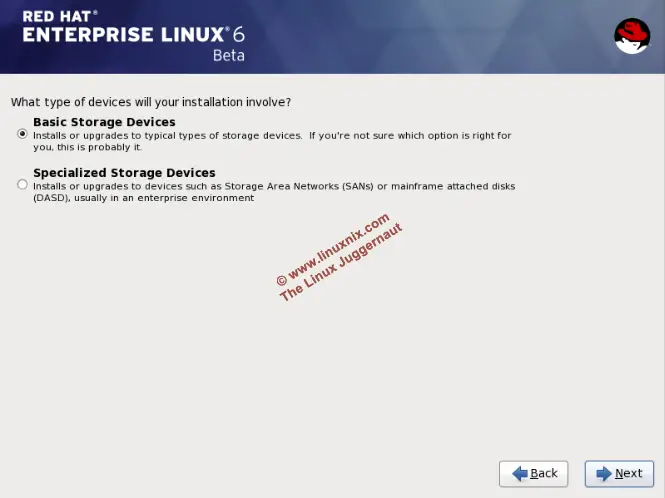
Now a days we can install Linux on a storage device like SAN and NAS for data protection. If you want to install one on such devices select second option “Specialized Storage Devices” instead of first one.
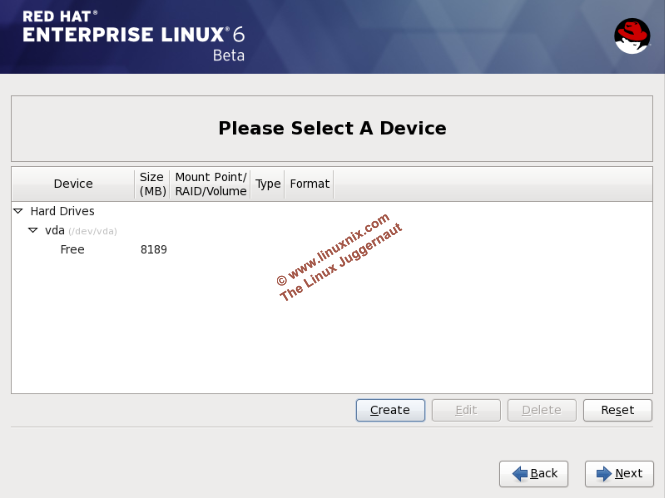
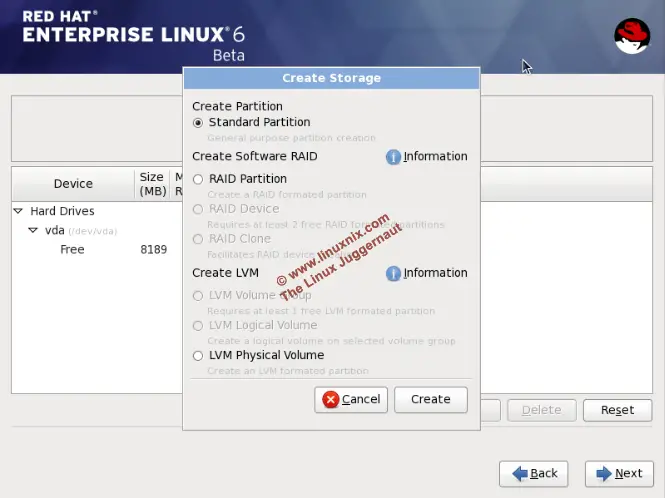
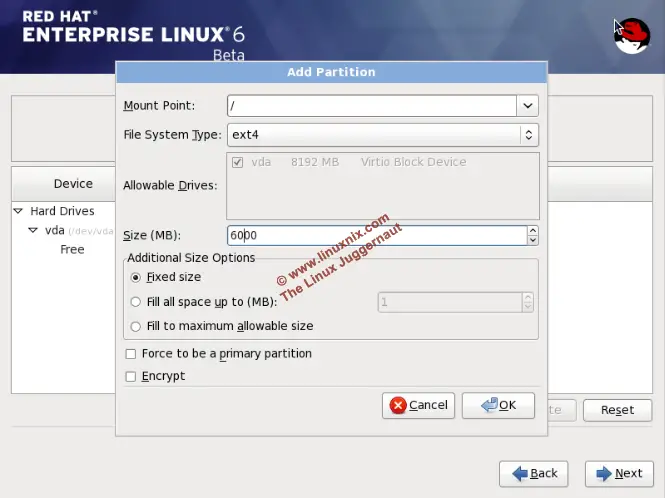
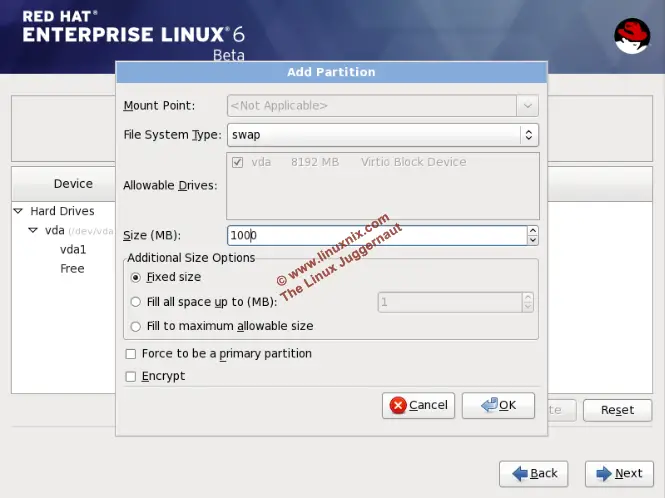
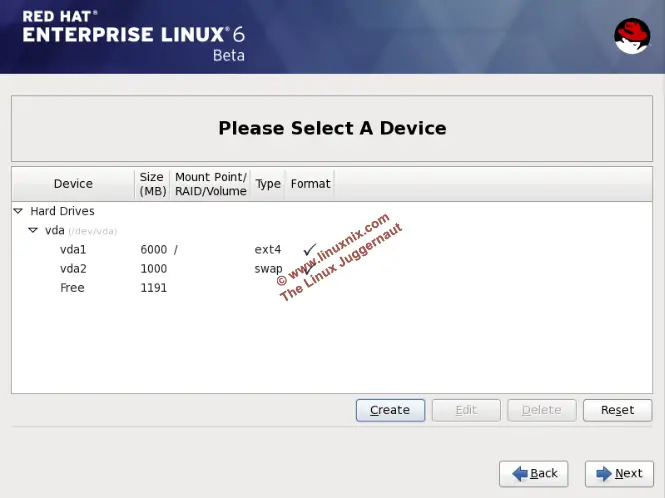
From below screenshot select first option as we are going to install OS on HDD.
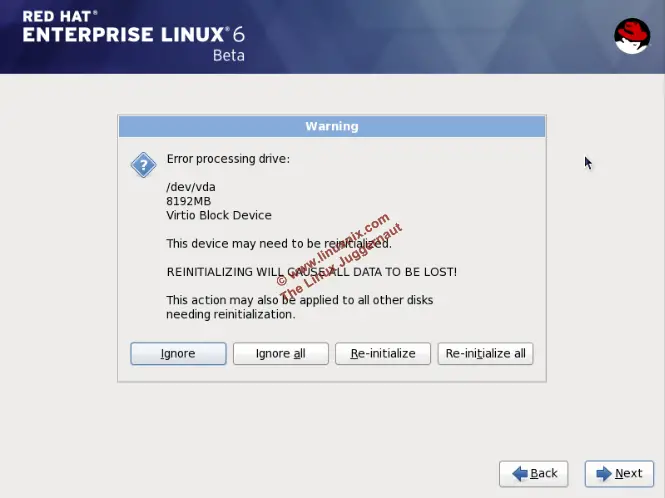
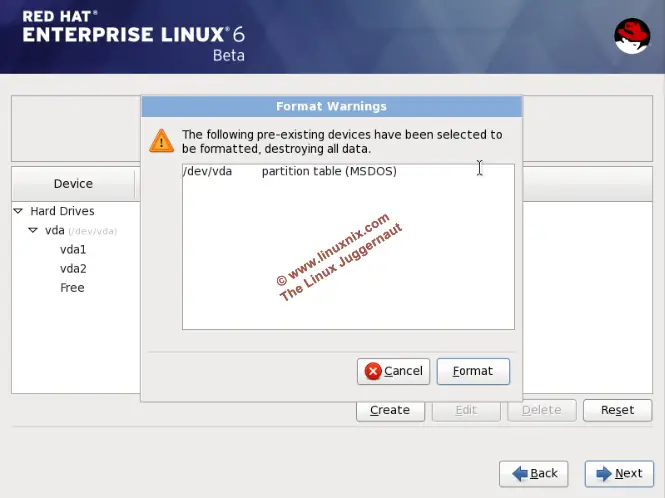
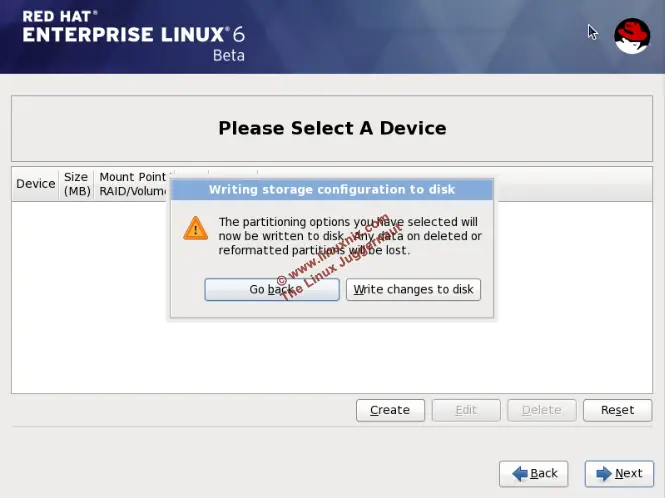
Below step shows a warning stating that disk is not initialized, ignore it and reinitialize it.
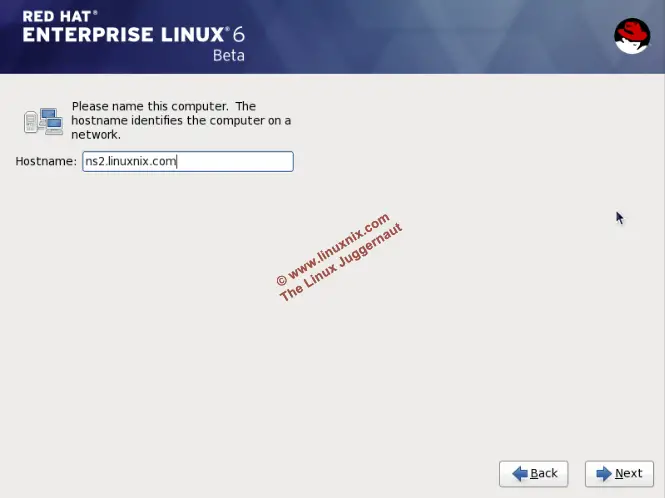
Select the hostname
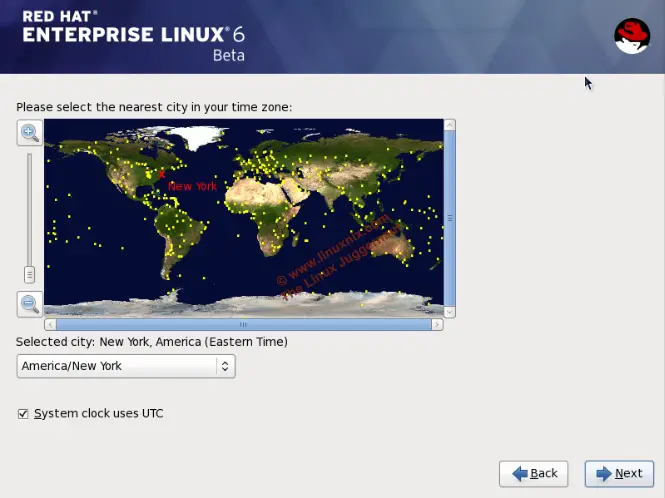
Select location for time syncernization
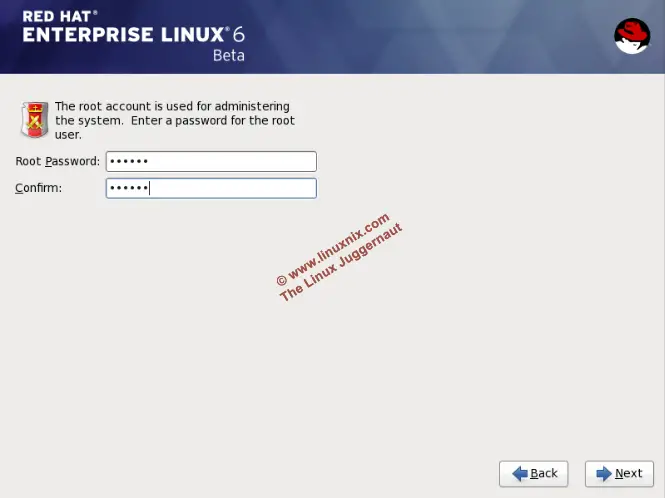
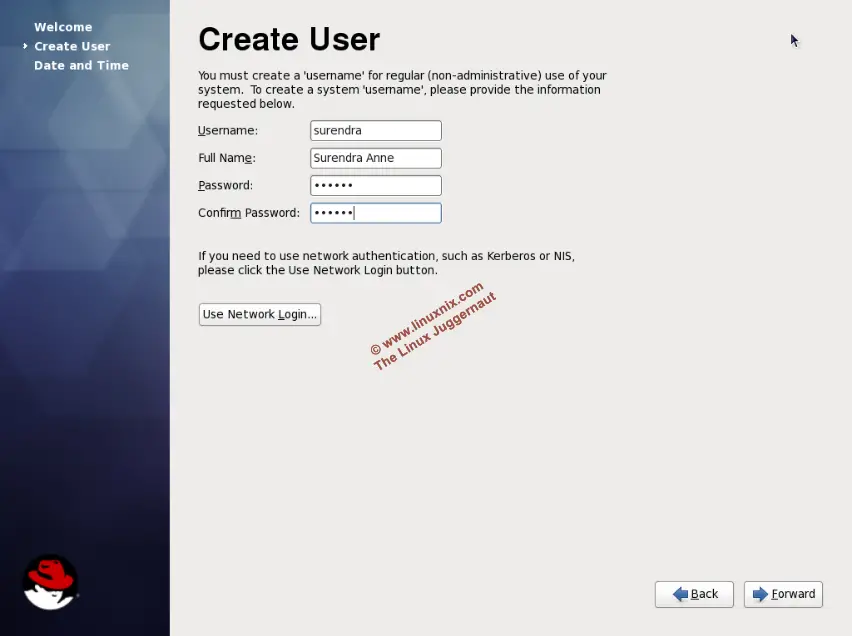
Select root user password so that we can login as root for administrative tasks.


Stay tuned to our other post on installing Cent OS.
Latest posts by Surendra Anne (see all)
- Docker: How to copy files to/from docker container - June 30, 2020
- Anisble: ERROR! unexpected parameter type in action:
Fix - June 29, 2020 - FREE: JOIN OUR DEVOPS TELEGRAM GROUPS - August 2, 2019
- Review: Whizlabs Practice Tests for AWS Certified Solutions Architect Professional (CSAP) - August 27, 2018
- How to use ohai/chef-shell to get node attributes - July 19, 2018