Introduction
In a previous post, we ran the hello-world container to verify and validate our docker installation. To run the hello-world container we pulled the image for the container. But where did that image come from? At that juncture, we didn’t really talk about how that happened. In this post, we’ll be addressing that exact query. The image that we pulled to run with our standard install of docker came from the Docker Hub.
What is Docker Hub?
I’ve heard of Github then you can safely assume that Docker Hub is for container images what Github is for code repositories. Github allows users to share code with co-workers, other developers and people across the world. Docker Hub does the same thing for container images. It allows us to host the public as well as private container images. The ability to host repositories or registries privately is great for organizations who wish to containerize proprietary applications and do not want to make the container images public.
In order to use the docker hub, we need a docker hub account and we’ll walk you through the steps involved in registering for a docker hub account.
Step 1: Sign up
To create your docker hub account open the link https://hub.docker.com/. Once there click on the sign up for Docker Hub button and you will be taken to the sign page also shown in the below screenshot:
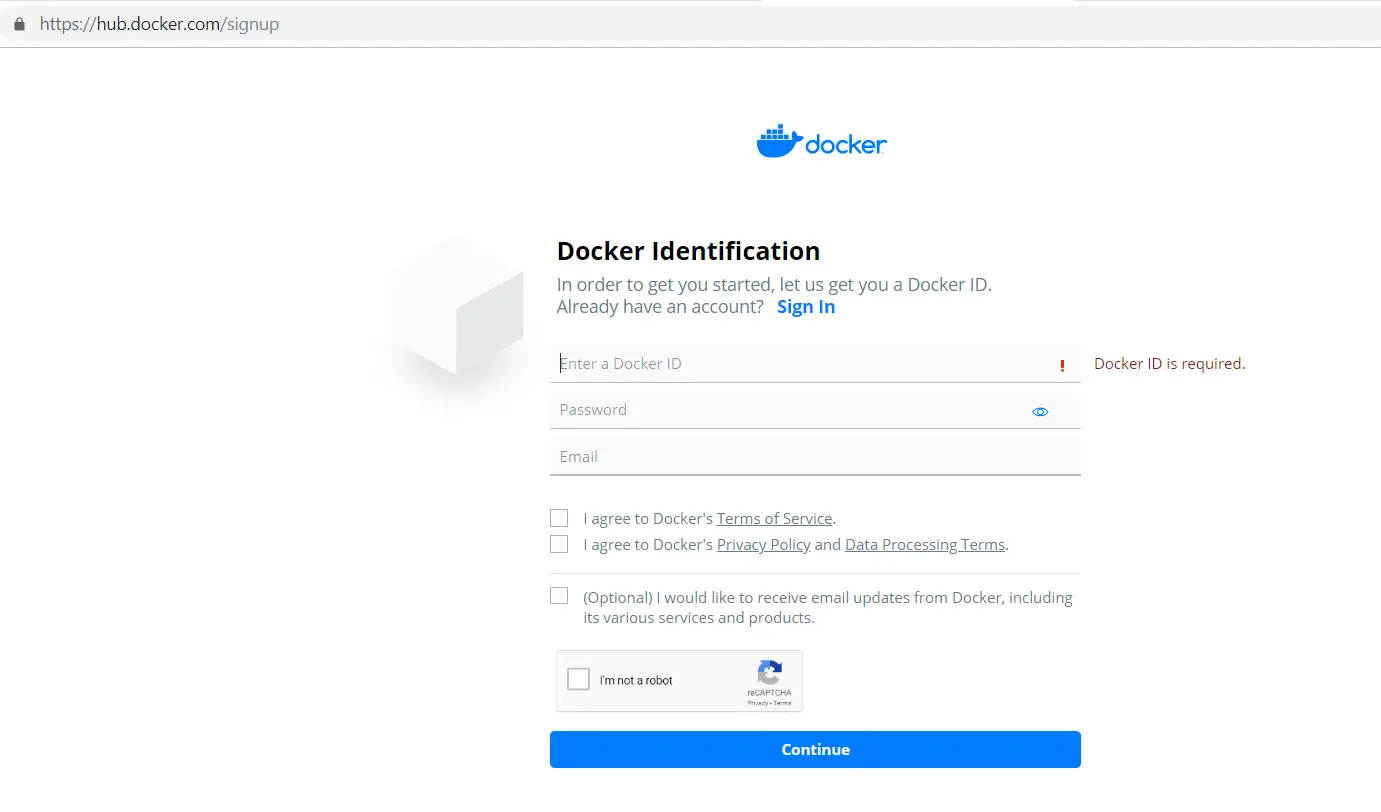
Here enter your desired docker id. Be aware that you might end up sharing this id with others so pick a meaningful id that you wouldn’t be sharing. Once you’ve entered your desired user id, you will need to enter in your email and password and finally click on continue. After you click on continue it will ask you some information about you and your role in IT. Once you’ve filled that in you’ll receive an email from Docker Hub on the email id you provided during sign up. This is for validation purposes. Here is a screenshot of the email that you will receive:

Step 2: Logging in and exploring the site
After you’ve verified your email id you can now go back to the docker hub home page and sign in. Once you sign in you’ll be greeted with the below page:
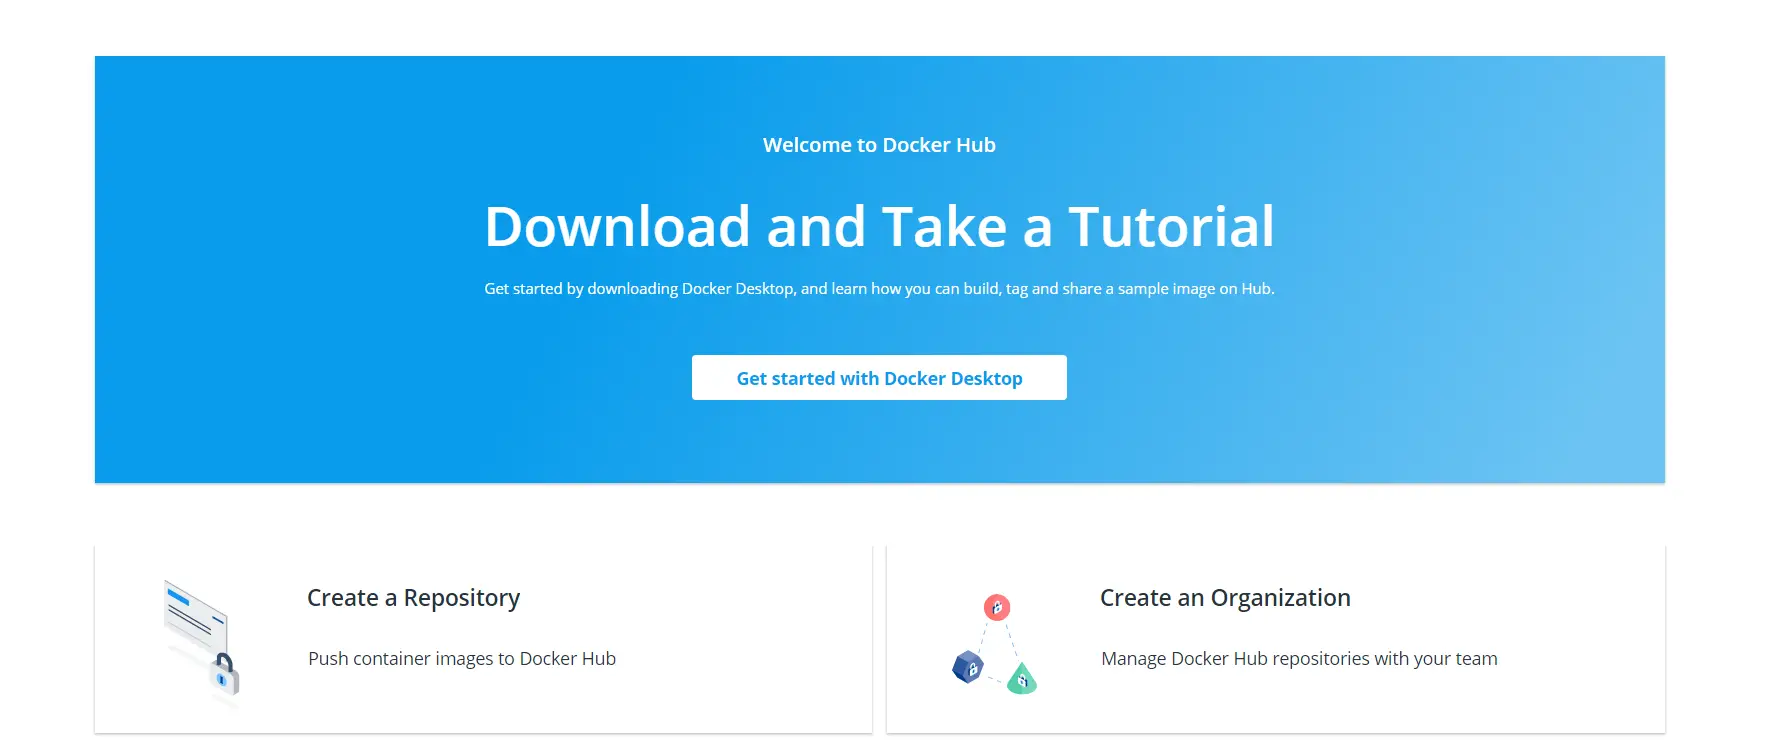
As you can see here you can create your own repositories and organizations. If you scroll down a bit you’ll see some repositories tagged as official.
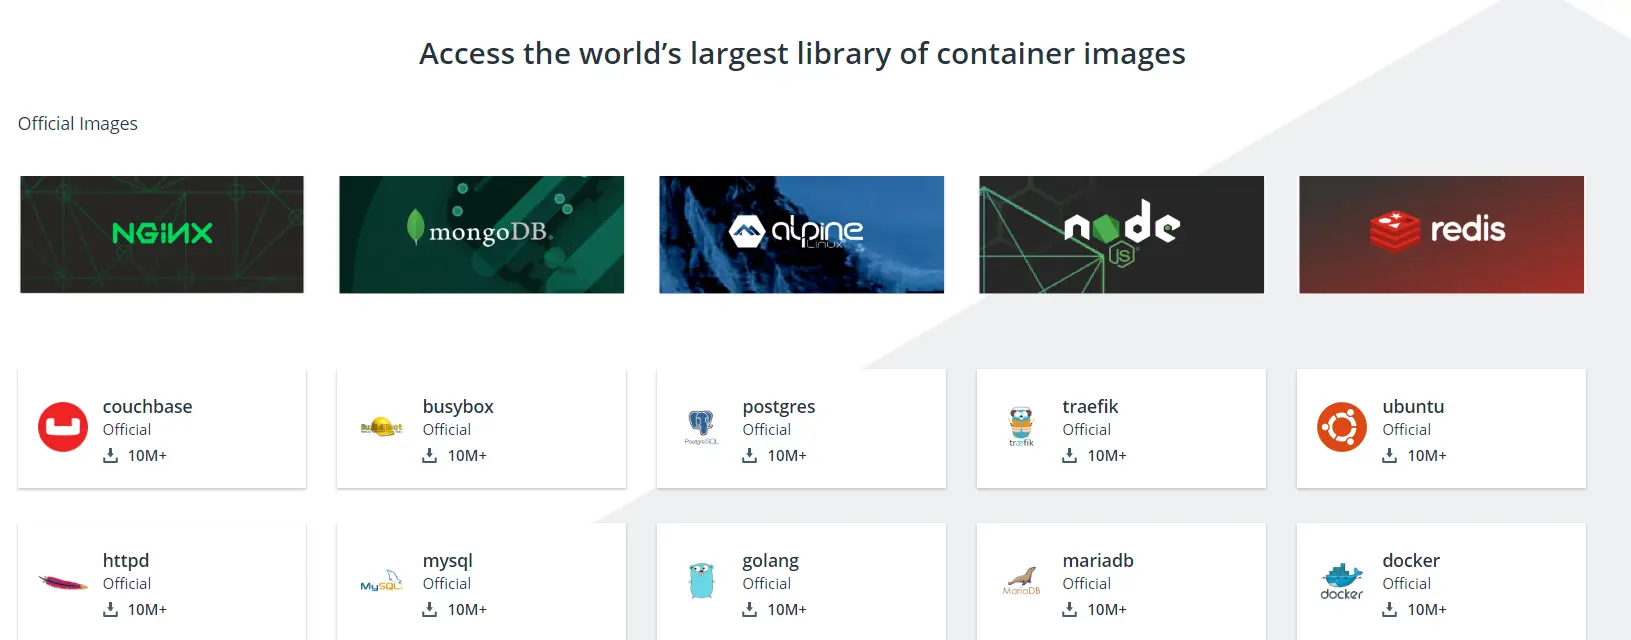
The official repositories available at the Docker Hub are designed to deal with some specific use cases. There are the base OS repositories like Ubuntu and Centos that are meant to serve as a starting point for a majority of users. They are going to provide a drop-in solution for popular programming languages, run times and other services. This is very similar to what a Platform as a Service or PAAS solution provides. They will also provide some information about the Dockerfile used to generate the image and also some documentation to serve as a reference point for other Dockerfile authors. The official repositories ensure that security updates have been applied to the images in a timely manner.
Step 3: Viewing information about repositories
Let’s click on the nginx repository to view some information about it.
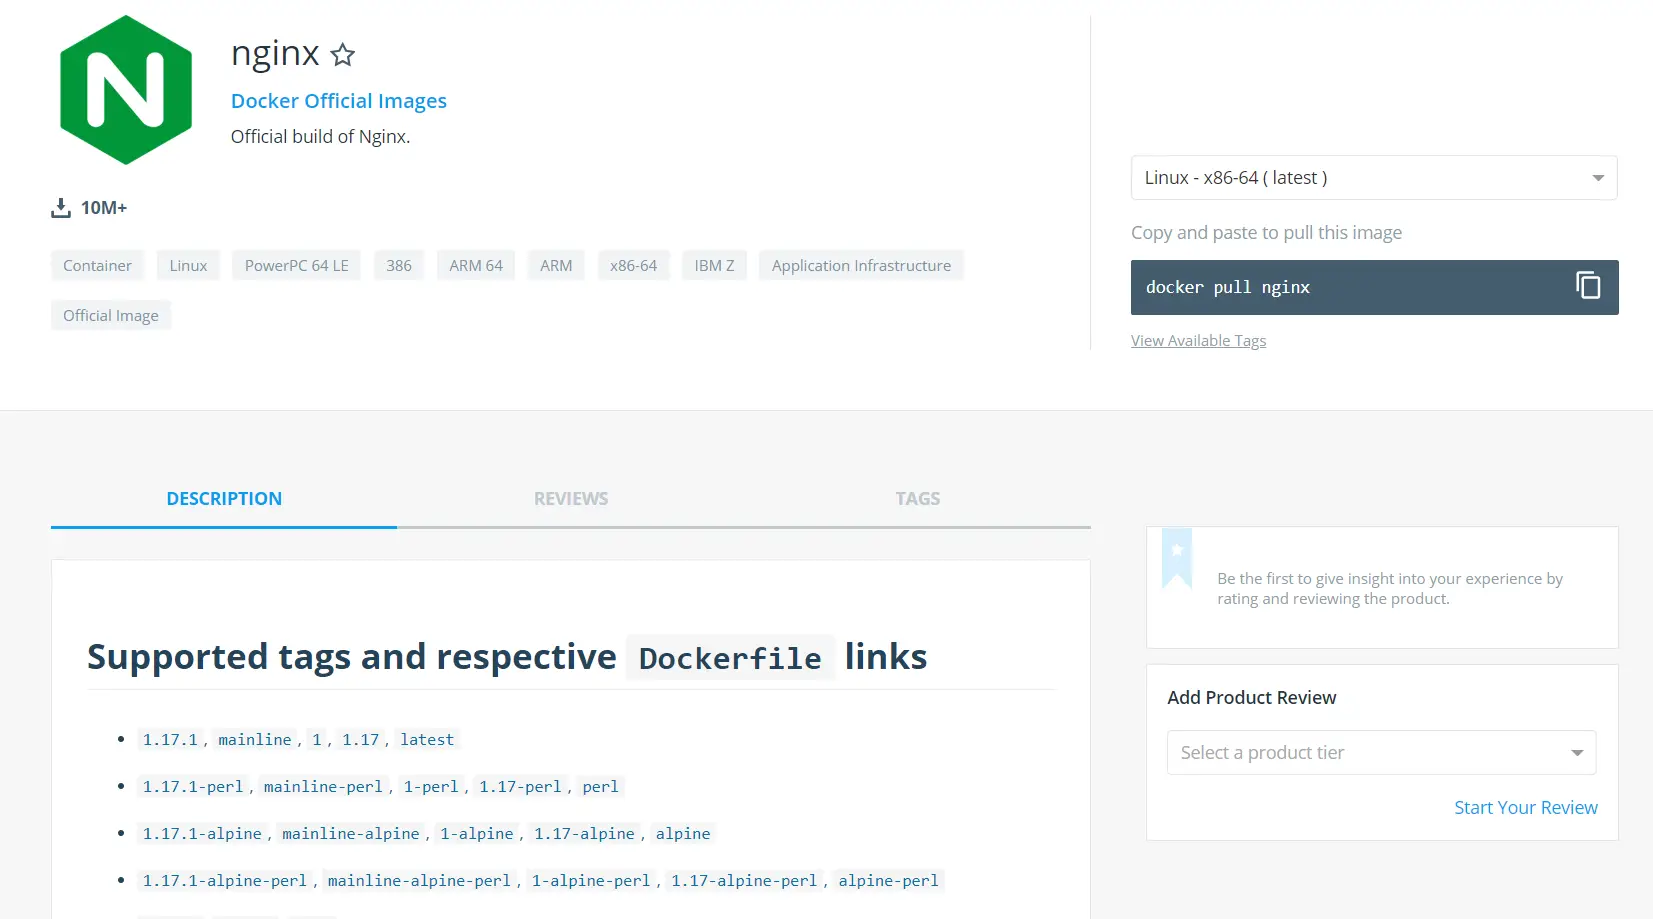
As you can see this is the official build for nginx and on the right side of the screen we can also the command we need to run to pull this image onto our system to be able to use it. If you scroll down further you’ll be able to see a depth of information about this image and how to use it. Not all repositories will have this level of detail as it is the discretion of the creators and maintainers of the repositories to provide the information.
Step 4: Create a repository
To create a repository go the docker hub homepage where you landed immediately after signing in. There you will see a tab labeled create repository. Once you click on this tab you will be brought to the below page where you need to provide some information about the repository that you are creating.
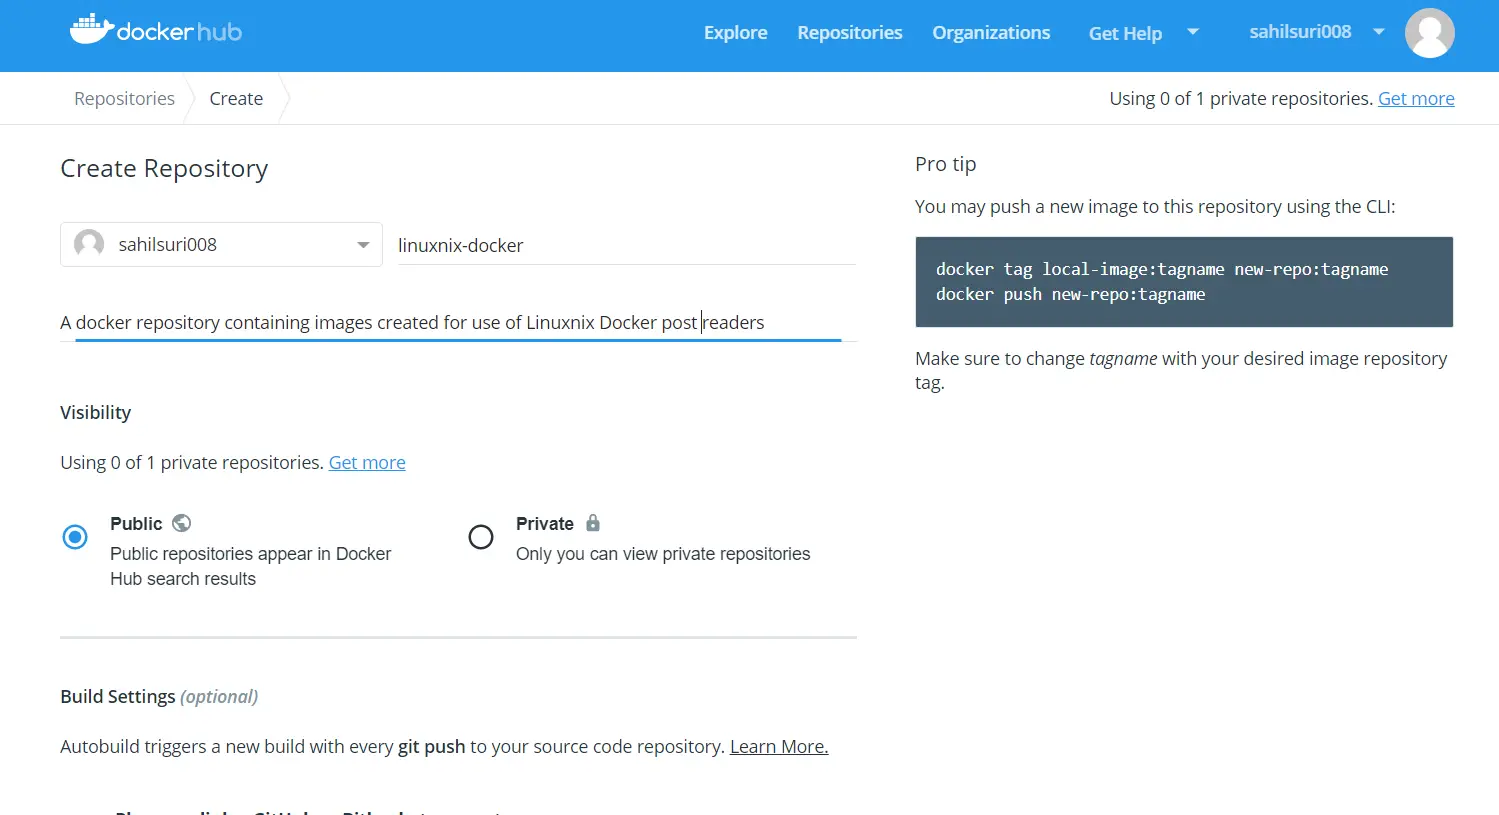
Once you’ve entered the information click on the create button shown towards the bottom of the screen. Note that I’ve kept this repository as public so you would able to see the images that we push to this repository and also download and use them as you see fit. As of this writing under the free tier plan for Docker hub, we could create unlimited public repositories but only one private repository. If you wish to create more than one private repositories you could consider opting for a paid plan. The pricing is based on the number of private repositories you are allowed to create.
Conclusion
We hope that you found our discussion on Docker Hub useful and would consider creating a Docker Hub account for yourself and get started with using containers. Also, we would like to mention that we would be using this docker hub repository in our future posts on Docker.
Sahil Suri
Latest posts by Sahil Suri (see all)
- Google Cloud basics: Activate Cloud Shell - May 19, 2021
- Create persistent swap partition on Azure Linux VM - May 18, 2021
- DNF, YUM and RPM package manager comparison - May 17, 2021
- Introduction to the aptitude package manager for Ubuntu - March 26, 2021
- zypper package management tool examples for managing packages on SUSE Linux - March 26, 2021