Introduction
The latest version of the industry-leading operating system from RedHat, RHEL (Red Hat Enterprise Linux) 8 was released on May 7, 2019. The announcement comes almost five years after the release of RHEL 7 which succeeded the highly successful RHEL 6. In this article, we will demonstrate step by step how you could obtain your own copy of RHEL 8 free of cost and install it.
- Given below are some of the changes/upgrades implemented in RHEL 8 in contrast to its predecessor:
- Application Stream (AppStream) repositories allow the delivery of userspace packages with more simplicity and flexibility.
- Lightweight, open standards-based container toolkit (Buildah, Podman, Skopeo)
- System-wide Cryptographic Policies are also included.
- Supports more efficient Linux networking in containers through IPVLAN.
- Includes a new TCP/IP stack with Bandwidth and Round-trip propagation time (BBR) congestion control.
- Cockpit web console is now available by default and provides a simplified interface to easily manage servers locally and remotely.
- Yum 4 (based on DNF), delivers faster performance, fewer installed dependencies and more choices of package versions to meet specific workload requirements.
- Support for LUKSv2 to encrypt on-disk data combined with Network-Bound Disk Encryption (NBDE) for more robust data security and more simplified access to encrypted data.
- RHEL 8 is based on Fedora 28 and uses Linux kernel version 4.18.
- GNOME Shell has been rebased to version 3.28, using Wayland the default display server. X.org server is available as well.
- nftables has replaced iptables as the default system firewall. The firewalld daemon now uses nftables as its default backend.
Obtaining the RHEL8 ISO File:
You can download the RHEL 8 ISO for free using the RedHat developer program. The developer subscription is free for an entire year.
Once you create your account, go to the following URL to download the ISO using this link.
Installation:
Now that we have the ISO, to install the OS you may choose to do so on a physical machine or a virtual machine. For the purpose of this demonstration, I’ll be installing RHEL 8 on a virtual machine. The common options for setting up RHEL 8 on a VM include VMware Workstation, VMware Player and Oracle VirtualBox.
Once you have created the VM using the hypervisor of your choice, attach the ISO to the virtual CD-ROM and power up the VM. You should be greeted with the below screen.
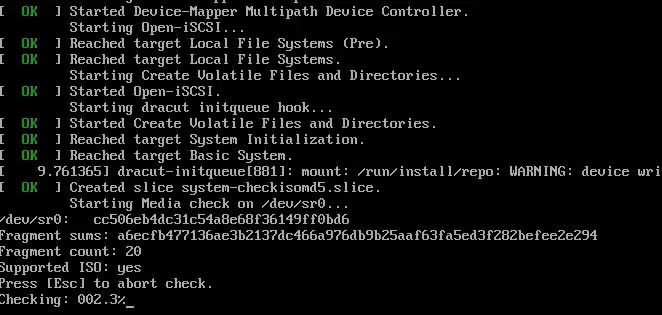
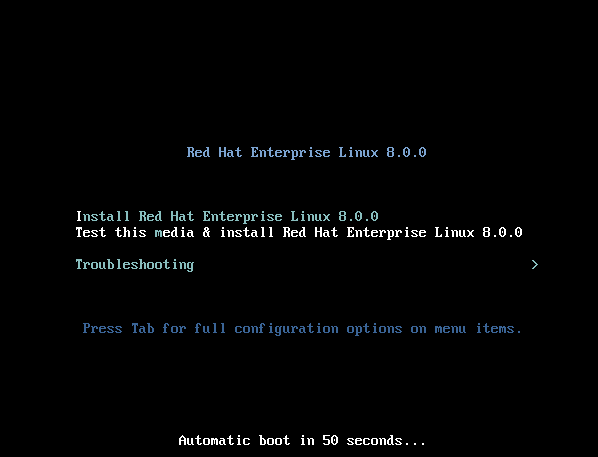 If you’ve installed a variant of RHEL in the past then this screen should look familiar to you. From here select the first option to start the installation process. Onc selected you should see the below screen. This is a basic sanity check and could be aborted using the ESC key.
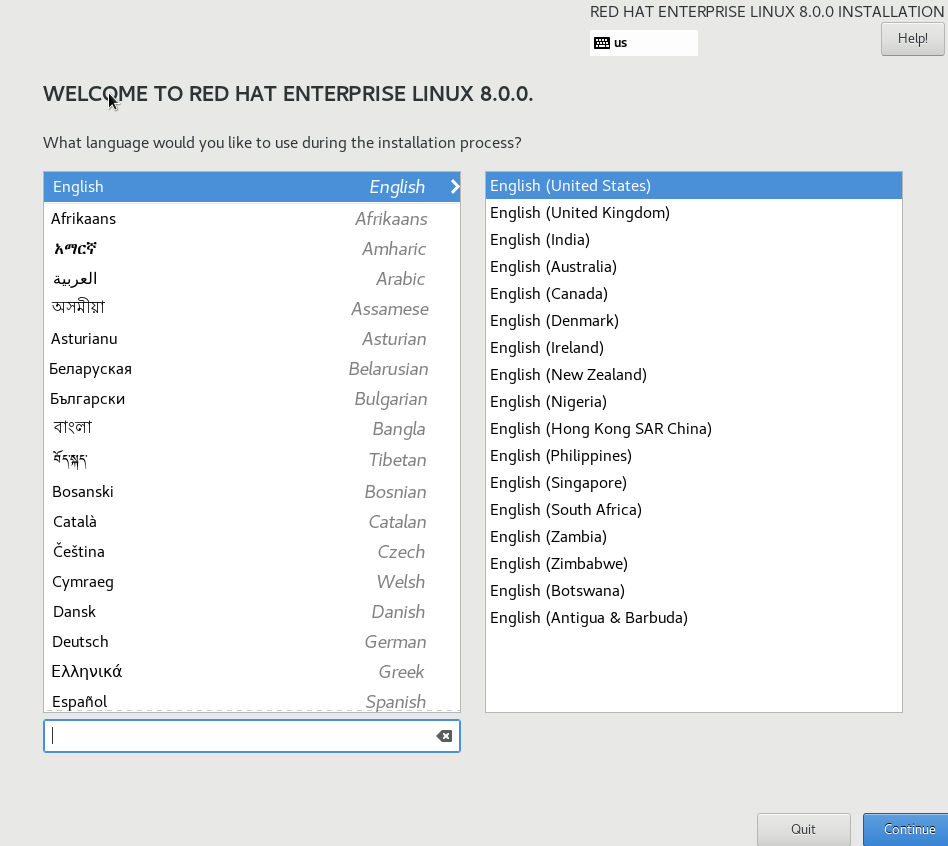
You will now be prompted to choose the language and keyboard layout. We’ll use English in both cases.
On the next screen, we’ll be asked to select our installation options like software selection, installation destination, and timezone.

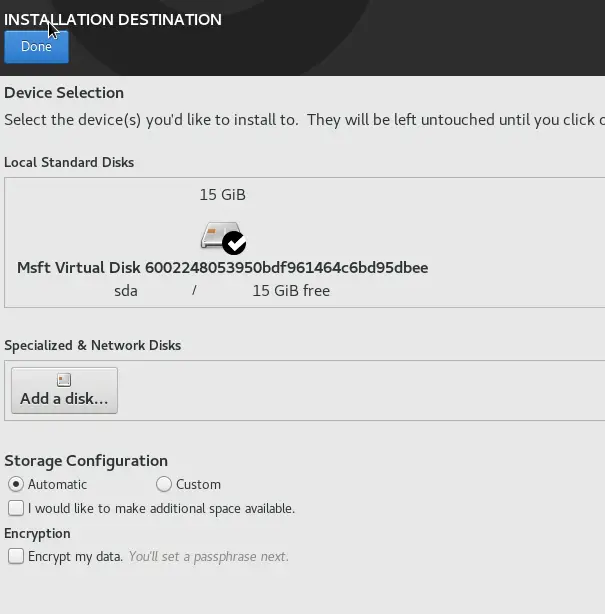
We’ll first confirm our installation destination.
Next, we’ll select “Software Selection’. By default Server with GUI appears to be selected. We’ll change that to Server and select Hardware monitoring utilities and Debugging tools as add ons to install.

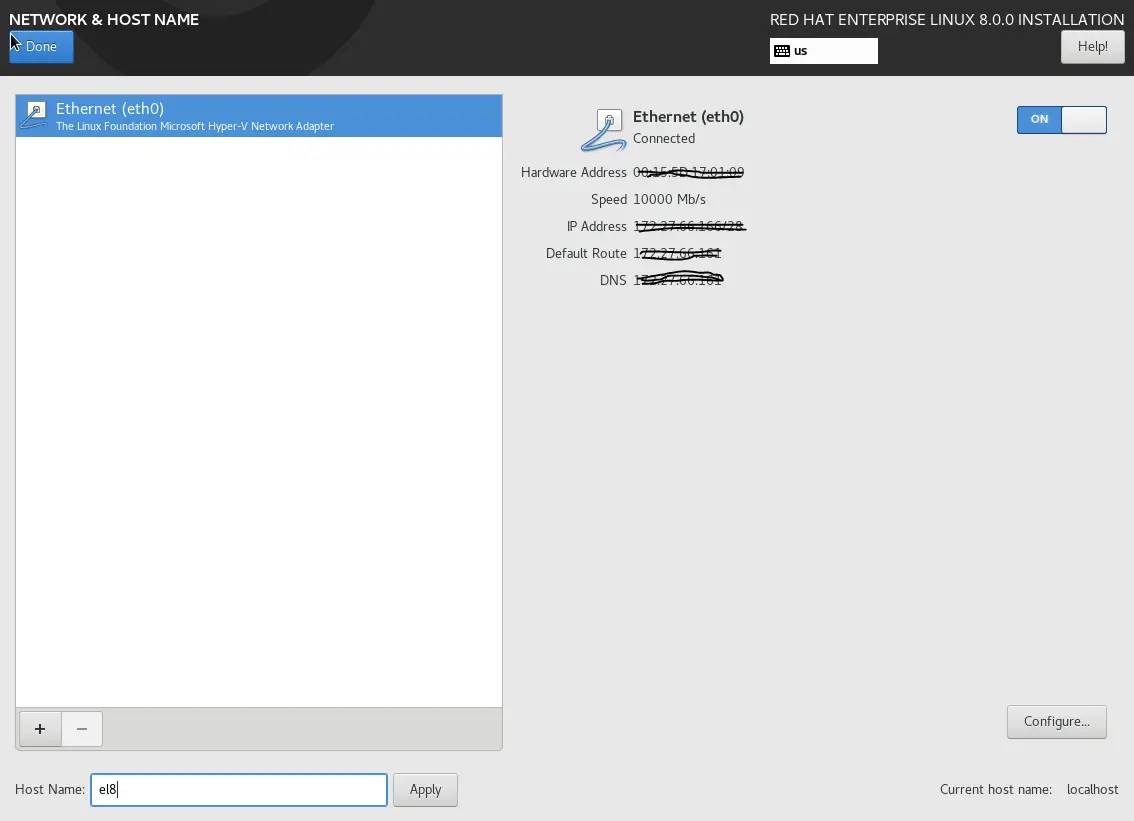
Now we will select ‘Networking and Hostname’ button to turn on the ethernet adapter on boot and also set the server hostname.
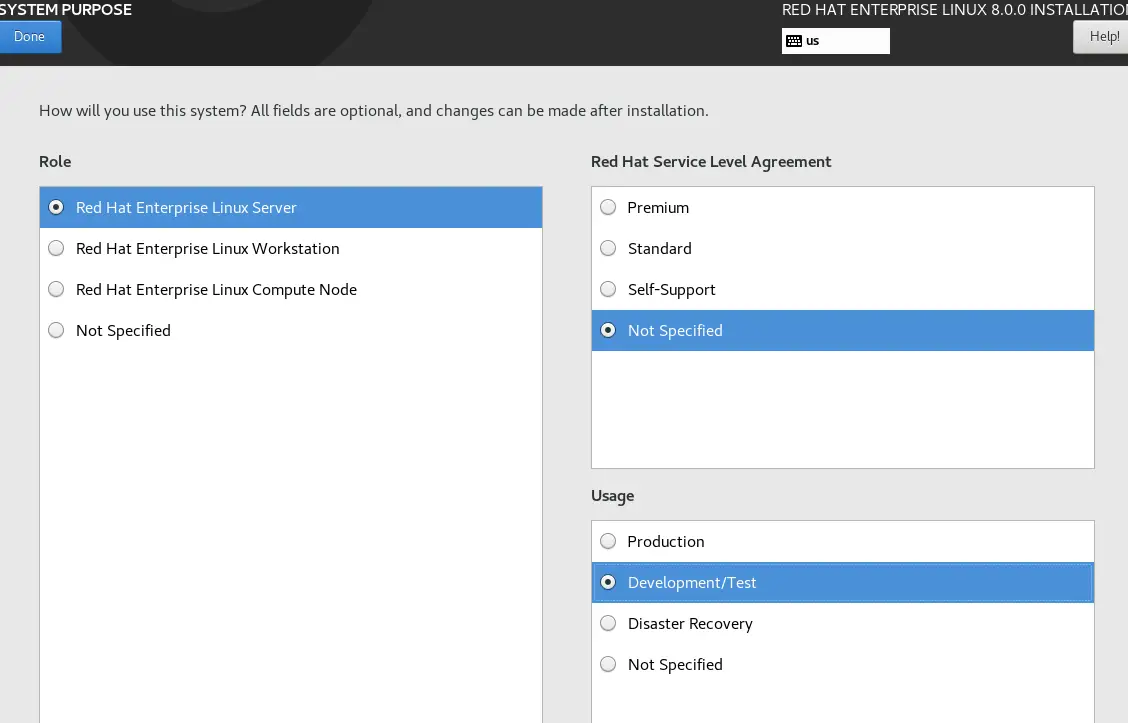
In the system purpose section, I can choose the Development/Test for usage. This is required if you want to use RHEL 8 for free. Leave other options untouched.
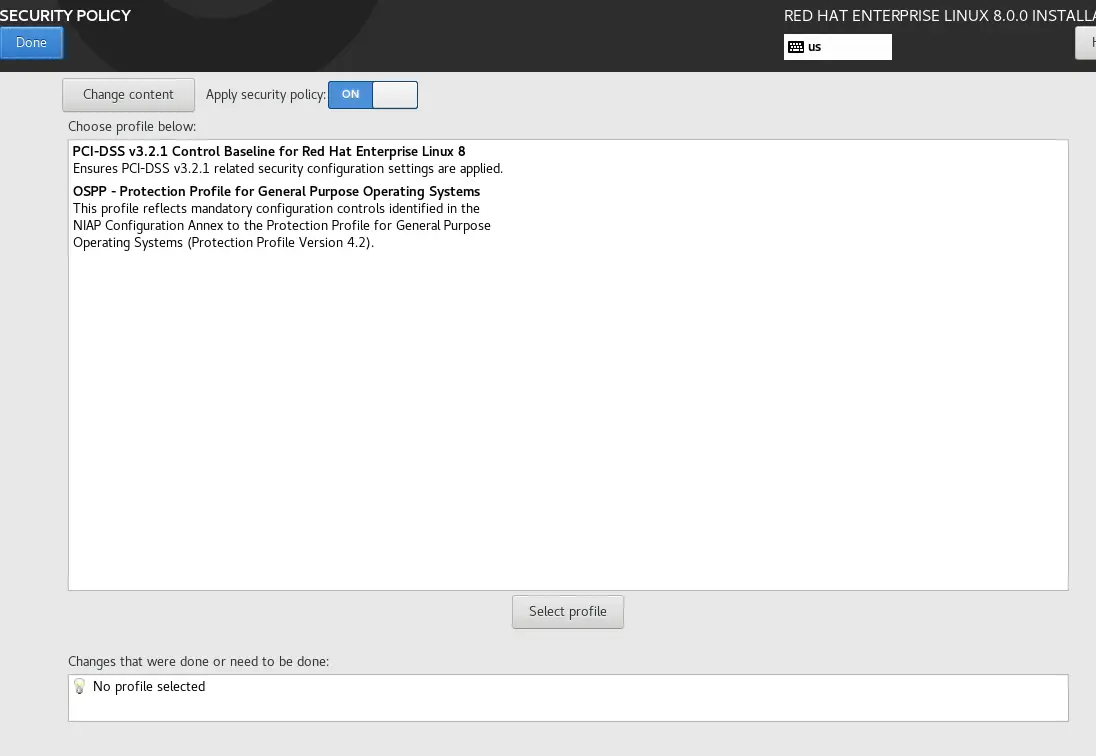
Next, under “Security”, you can choose the security policy for your system. The Red Hat Enterprise Linux security policy adheres to restrictions and recommendations (compliance policies) defined by the Security Content Automation Protocol (SCAP) standard. The packages are automatically installed. However, by default, no policies are enforced and therefore no checks are performed during or after installation unless specifically configured. Applying a security policy is not a mandatory feature of the installation program. If you apply a security policy to the system, it is installed using restrictions and recommendations defined in the profile that you selected. The openscap-scanner package is added to your package selection, providing a preinstalled tool for compliance and vulnerability scanning. After the installation finishes, the system is automatically scanned to verify compliance. The results of this scan are saved to the /root/openscap_data directory on the installed system. You can also load additional profiles from an HTTP, HTTPS, or FTP server.
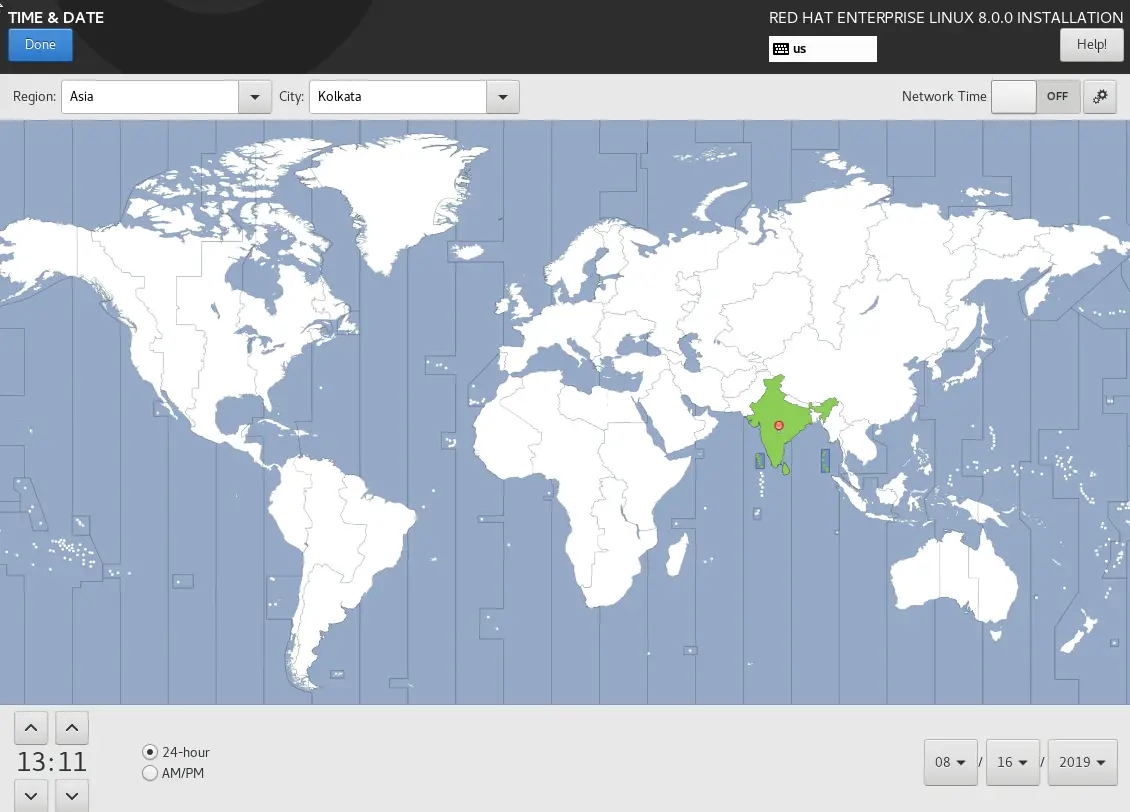
Now, we’ll alter our timezone to IST (Indian Standard Time).
With this all of our pre-install selections are complete. We’ll now click on the Begin Installation button towards the button right of the Installation Summary screen. This will commence the installation and we should now see the below screen.
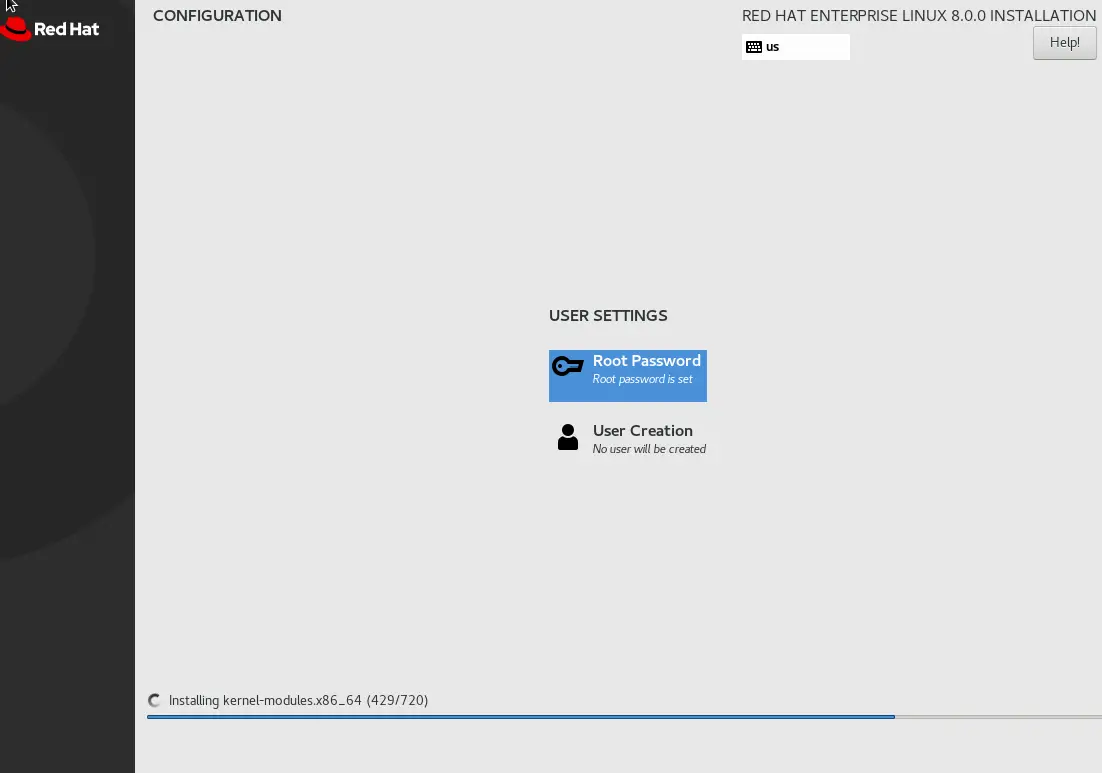
Under user settings, we need to set the root password. We can also optionally create an administrator user which will be granted full sudo access by default. Once the installation completes, the below window should appear.
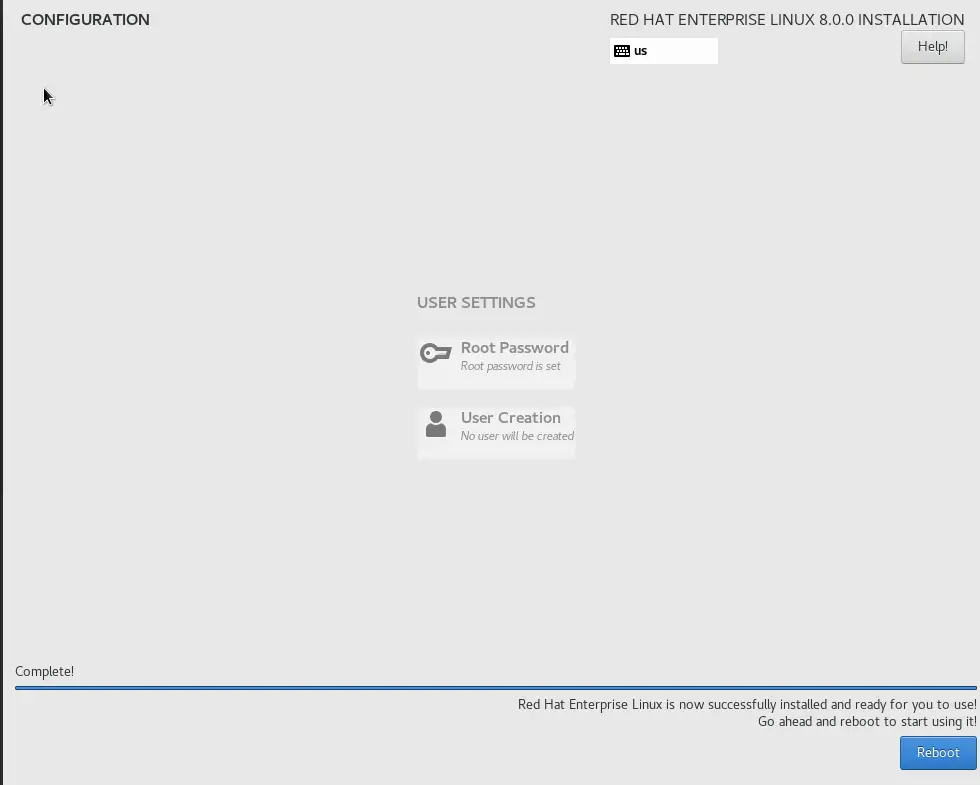
From click on Reboot. Once the server boots up you should be presented with a login prompt.
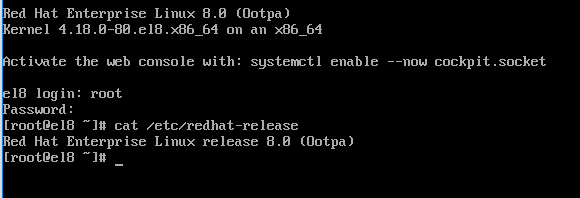
With this the installation of RHEL 8 is complete.
Conclusion
We hope that you found this step by step installation guide to be useful and we encourage you to install and play around with RHEL 8. We will be adding more posts on RHEL 8 in the coming few days.
Sahil Suri
Latest posts by Sahil Suri (see all)
- Google Cloud basics: Activate Cloud Shell - May 19, 2021
- Create persistent swap partition on Azure Linux VM - May 18, 2021
- DNF, YUM and RPM package manager comparison - May 17, 2021
- Introduction to the aptitude package manager for Ubuntu - March 26, 2021
- zypper package management tool examples for managing packages on SUSE Linux - March 26, 2021