
![]()
Welcome to linuxnix.com. In our last blog, we have learned about Cloud Computing and its characteristics. In this blog, we will go through the working of Cloud Computing, How to choose a cloud provider and How to create your first infrastructure in AWS.
How Does Cloud Computing Work?
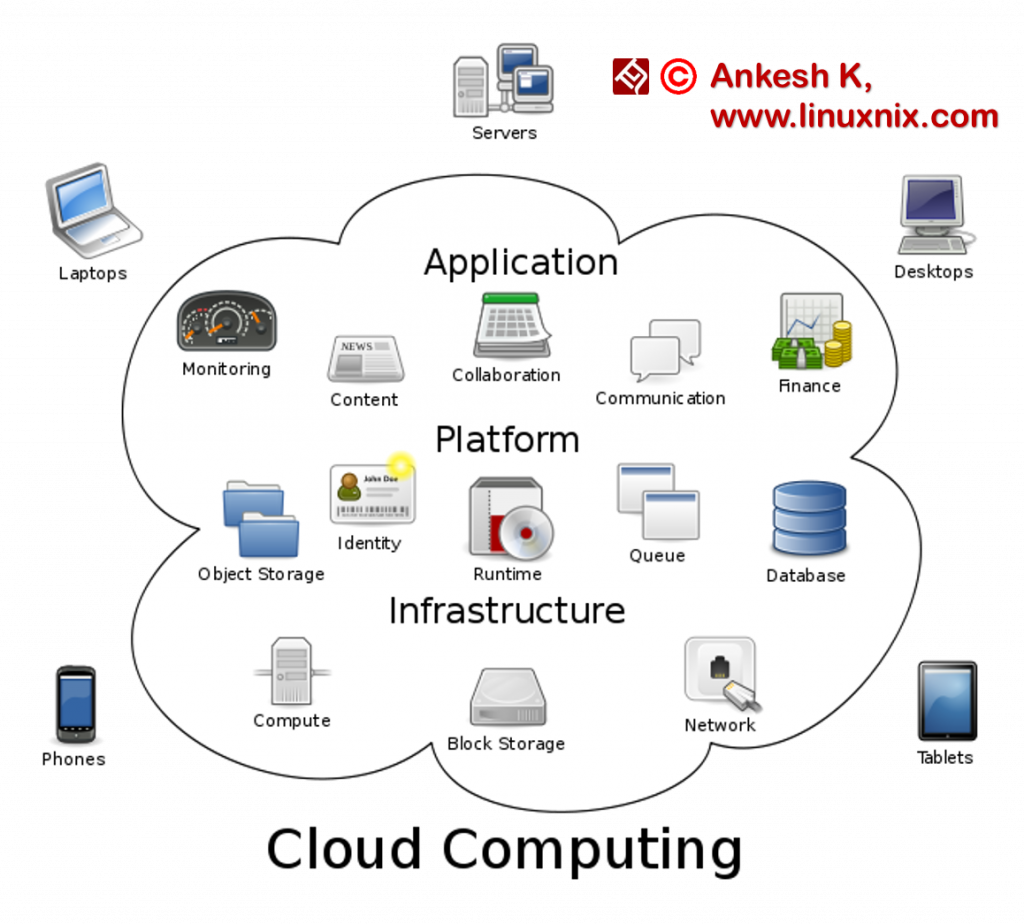
To understand the working of Cloud Computing in an easy way, we will divide it into two sections. They are connected to each other through a network or internet.
- Front End – The front end is the side of the computer user or the client. It also carries the application used to authenticate the cloud from the back end. Not every front end is in this architecture.
- Back End – The back end is the “cloud” section of the system. This means storage, database, servers, etc. Generally, each application has its own back end.
How to choose a Cloud Provider?
Choosing a cloud provider is not at all an easy task. Beginning from start-ups to a multi-million company, there could be different criteria to choose a cloud vendor. There is a lot of competition between these companies. Some of the most widely used vendors are Amazon Web Services (AWS), Microsoft Azure and Google Cloud Platform (GCP).
There are certain criteria before choosing Cloud Providers. Below are some of them:
- Track Record
- Security
- Compliance
- Architecture
- Manageability
- Service Levels
- Support
- Cost
- Flexibility
Cloud Computing Vendors
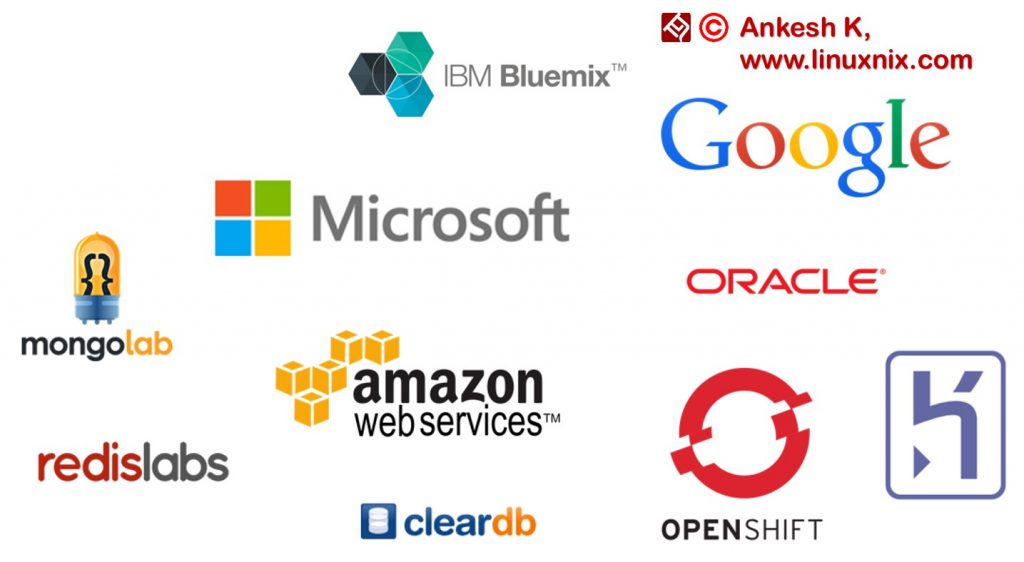
Below are the major Cloud Computing vendors in the market:
- Amazon Web Services (AWS)
- Microsoft Azure
- Google Cloud Platform (GCP)
- Salesforce Cloud
- Digital Ocean
- IBM Cloud
- Rackspace
- Oracle Cloud
- Alibaba Cloud
Difference between AWS, Azure, and GCP

How to create an AWS account?
Step 1
Go to the signup page on the AWS website. https://portal.aws.amazon.com/billing/signup#/start
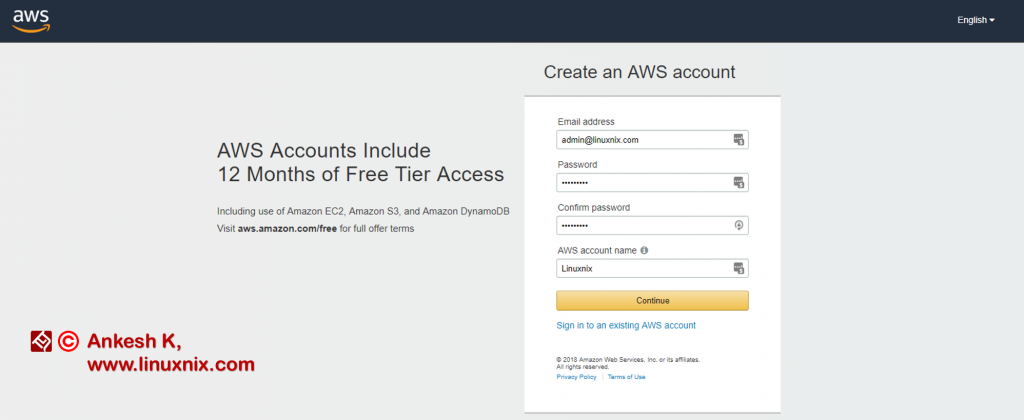
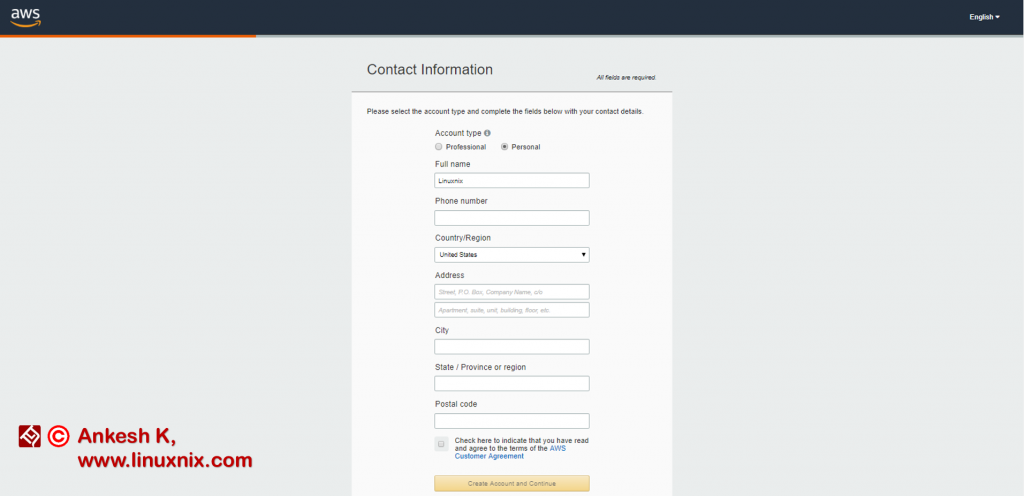
Step 2
Fill up all the personal details and go to the next page where you need to fill your payment information and create the account.
Step 3
Once everything is done, you can see the below AWS console.
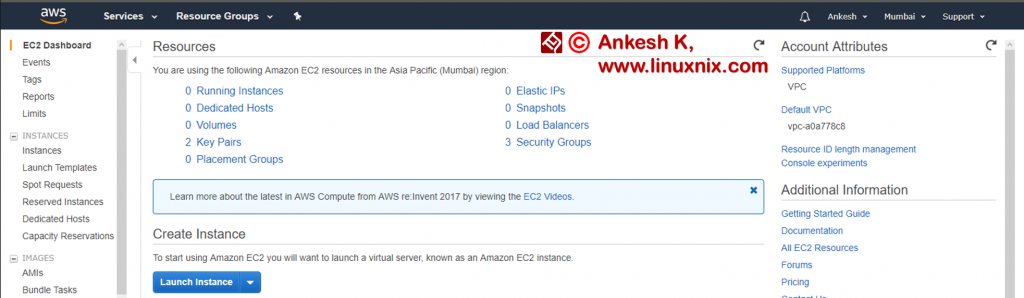
How to create your first infrastructure?
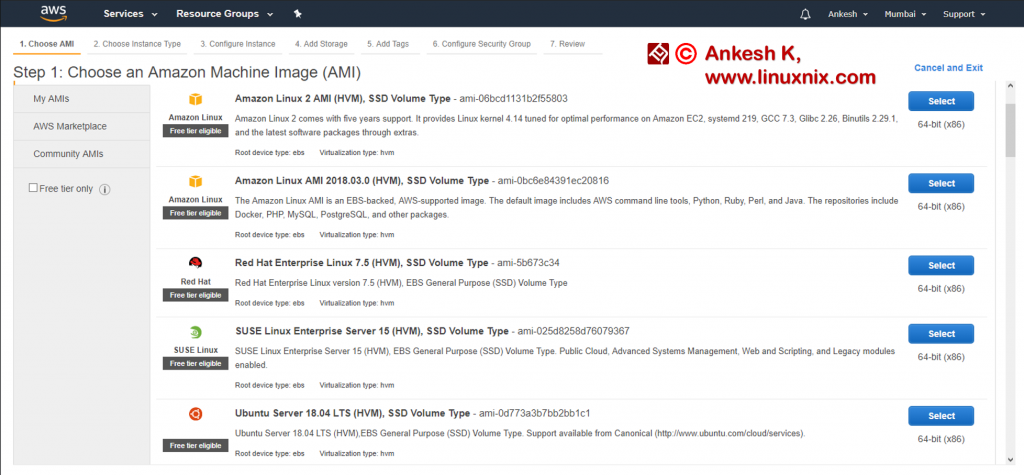
Step 1
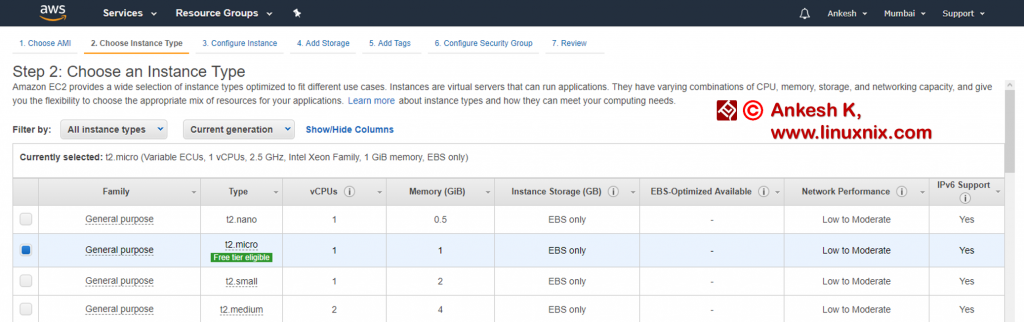
Go to the “Instance” on the left. This opens a section for EC2 instance where you can create your server. Click on “Launch Instance” where you need to choose the AMI. (In our case, Ubuntu Server 18.04 LTS (HVM), SSD Volume Type). The next step is to choose the “Instance Type”. (In our case, t2.micro)
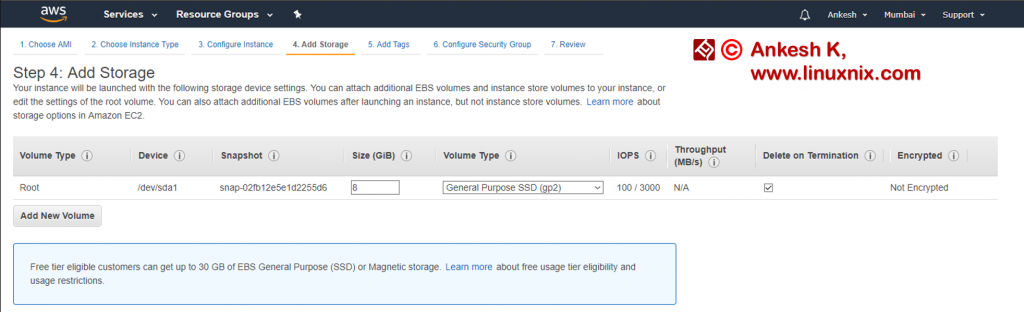
Step 2
After choosing the instance type, it’s the time to configure an instance, add storage and add tags.

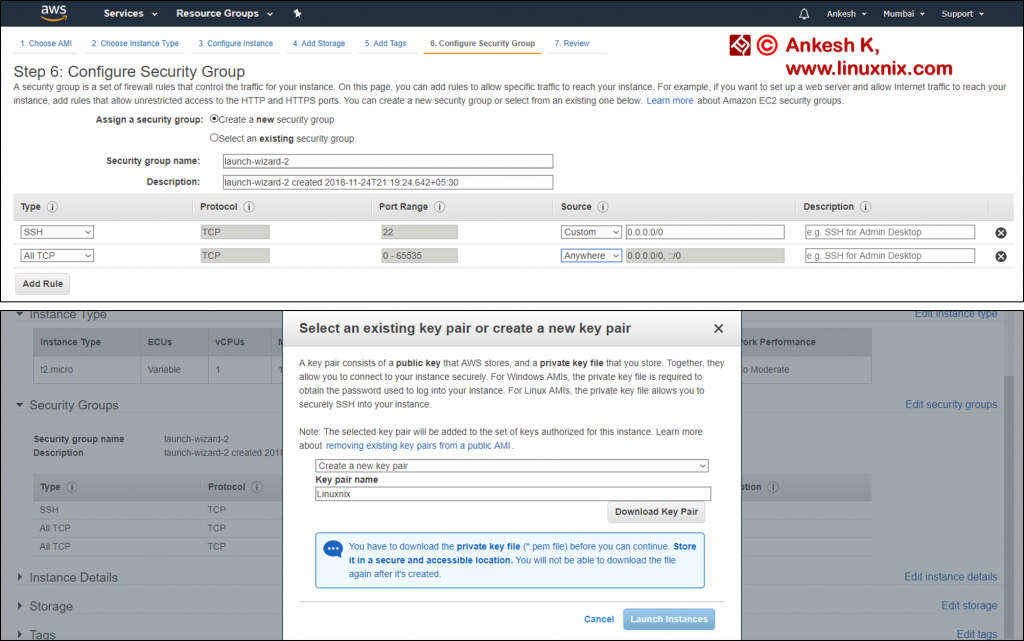
Step 3
Now add “Security Group” to your instance and download a key to access it.
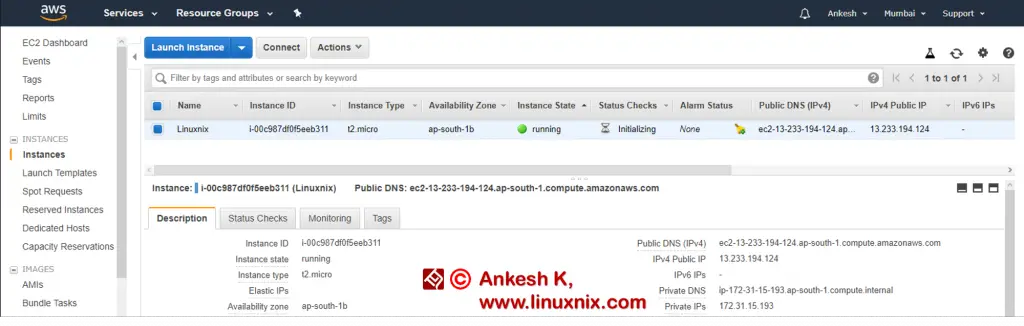
Step 4
Once done, you can see an instance named “Linuxnix”.
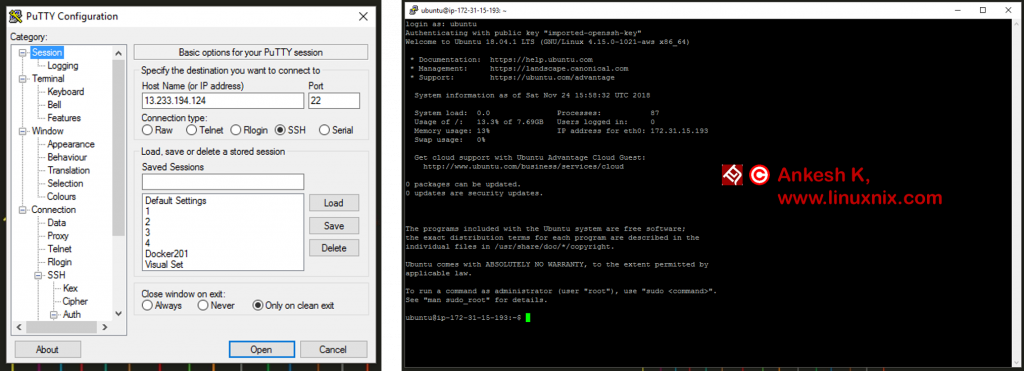
Step 5
You can log in to the instance using putty or any other SSH client using the key and the default username “ubuntu”.
In this way, you can create your first infrastructure. We have everything here what we need in a typical data center. We have storage, network, OS, hardware, etc and we did all these with the help of Cloud Computing.
If you want to learn more about Cloud Computing, go through our last blog here.
Stay tuned with linuxnix.com.
Latest posts by Ankesh K (see all)
- Deep-Dive into Jenkins – What are all Jenkins functionalities ? - January 10, 2019
- What are different Maven Plugins and how to build a Maven project? - January 7, 2019
- What is a Maven POM File and what are different Maven Repositories? - January 3, 2019
- What is Maven and what are its benefits? - December 31, 2018
- What are the different ways to install Jenkins ? - December 27, 2018

