![]()
Welcome to linuxnix.com. In this blog, we are going to see all the possible ways of installing Jenkins. We will go through the steps of installation and configure Jenkins once it is setup. If you want to go through the Jenkins basics, click here and If you want to go deep into the Jenkins functionalities, click here.
Jenkins Installation
Jenkins can be installed on different platforms (such as Linux, Windows, etc) and set-up in different ways.
- As a jar file deployed using Java.
- As a repository in Linux environments.
- As a war file deployed to a Servlet such as Apache Tomcat.
- As a Docker container either locally or on a public or private cloud.
- As a SAAS hosted by the companies like Cloudbees, Azure, etc.
1. Jenkins installation as a jar file deployed using Java
Step 1: Java Installation – Here we are using Ubuntu 16.04 LTS. First of all, Java should be installed on to the server and Java Home should be set.

Step 2: We need to download jenkins.war file from https://jenkins.io/download/ and choose the Long Term Support (LTS) version for downloads.
wget http://mirrors.jenkins.io/war-stable/latest/jenkins.war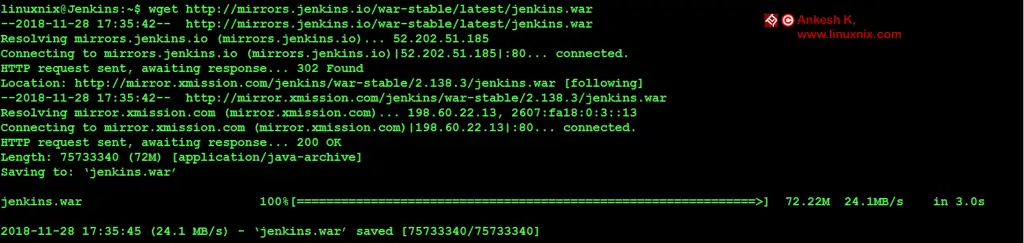
Step 3: Unpack the war file and install Jenkins using the below command.
java –jar jenkins.war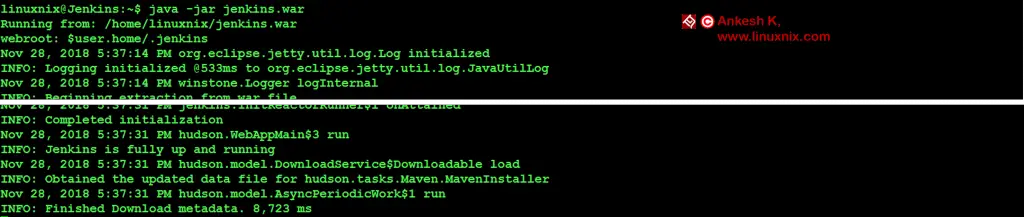
Step 4: Once Jenkins is installed, we need to hit the URL http://<ip-address>:8080 to go to the Jenkins UI.
2. Jenkins installed as a repository in Linux environments
Step 1: Java Installation – Here we are using Ubuntu 16.04 LTS. First of all, Java should be installed on to the server and Java Home should be set (as shown above).
Step 2: Add the Jenkins repository to your system using the below commands:
wget -q -O - https://pkg.jenkins.io/debian/jenkins-ci.org.key | sudo apt-key add –
echo deb https://pkg.jenkins.io/debian-stable binary/ | sudo tee /etc/apt/sources.list.d/jenkins.list

Step 3: Once the repository is added, update the system and install Jenkins.
sudo apt-get update
sudo apt-get install Jenkins

Step 4: Now start Jenkins service with the command.
sudo systemctl start JenkinsTo check the status of Jenkins service, use
sudo systemctl status jenkins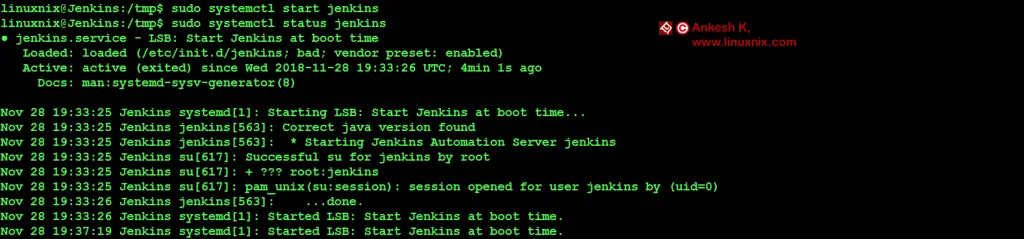
Step 5: Now go to the Jenkins UI using the URL http://<ip-address>:8080.
3. Jenkins installation as a war file deployed to a Servlet such as Apache Tomcat
Step 1: Java Installation – Here we are using Ubuntu 16.04 LTS. First of all, Java should be installed on to the server and Java Home should be set (as shown above).
Step 2: We need to install Apache Tomcat first. So, we need to download the Tomcat package to our server.
wget https://archive.apache.org/dist/tomcat/tomcat-8/v8.5.35/bin/apache-tomcat-8.5.35.tar.gz
Step 3: Untar the Tomcat archive.
tar -xzvf apache-tomcat-8.5.35.tar.gz
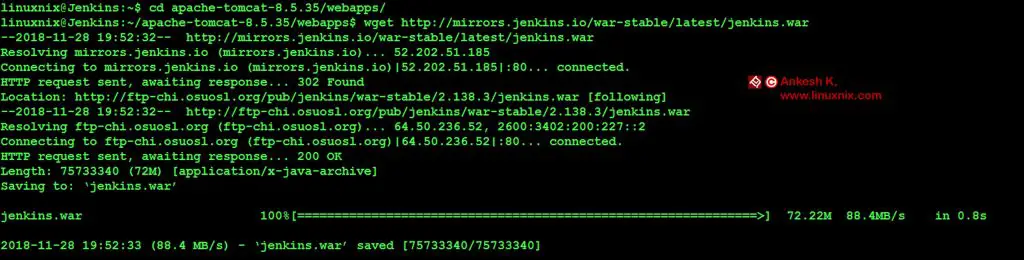
Step 4: Now go to the Tomcat directory, “webapps” subdirectory and download jenkins.war file inside it.
cd apache-tomcat-8.5.35/webapps/
wget http://mirrors.jenkins.io/war-stable/latest/jenkins.war
Step 5: Now come back to “bin” subdirectory and start tomcat servlet by running the script “startup.sh”.
cd ../bin/
./startup.sh

Step 6: Now go to the web browser and hit the URL http://<ip-addresss>:8080/jenkins to go to the Jenkins setup.
Jenkins UI Setup
After the above steps to install Jenkins, there are certain steps for Jenkins UI setup which are common for all the installation methods. So the below steps should be followed after Jenkins Installation.
Step 1: After you open the Jenkins URL, you can see the below page which will prompt you to put the password.
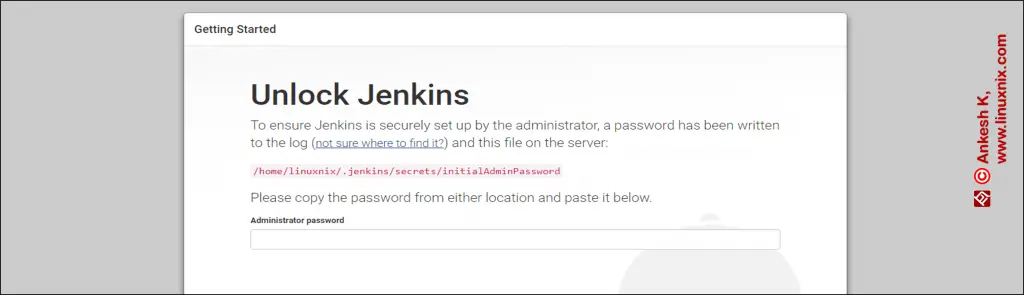
Step 2: Copy the password from /home/linuxnix/.jenkins/secrets/initialAdminPassword and paste it in the page.
cat /home/linuxnix/.jenkins/secrets/initialAdminPassword![]()
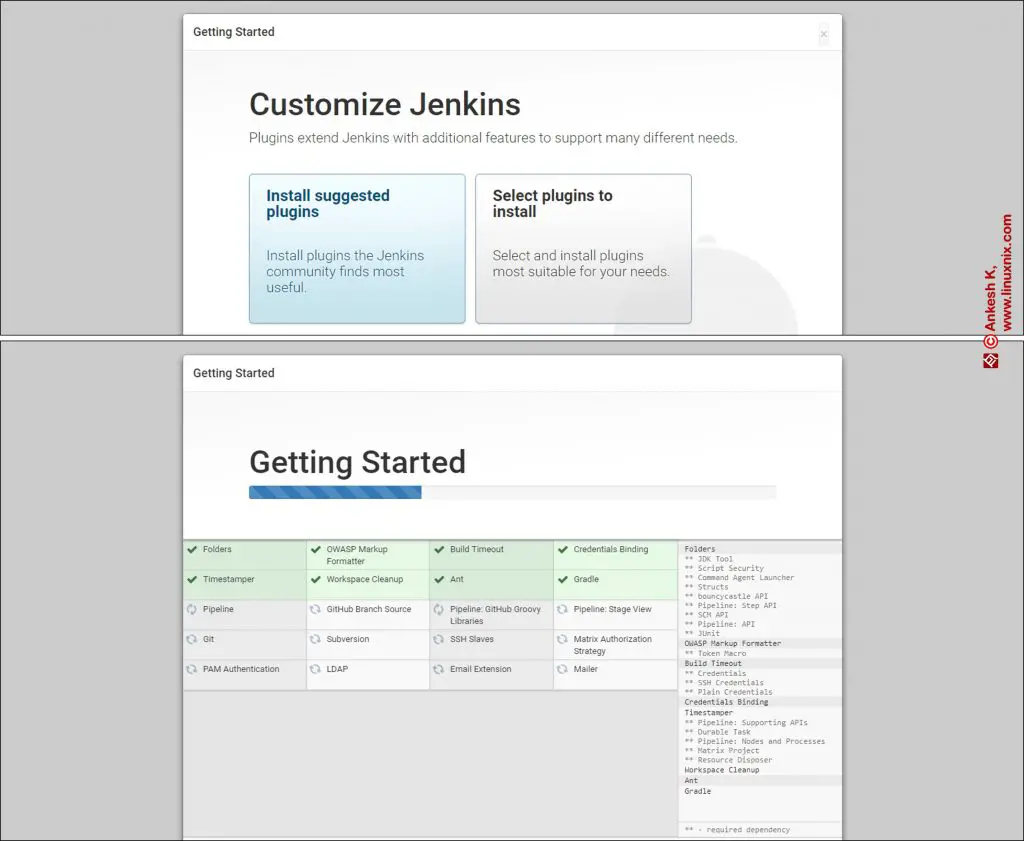
Step 3: After providing the password, it will ask to install the suggested plugins or the selected ones if you have some requirements. Even if you select “Install Suggested Plugins”, you can still install the plugins later.
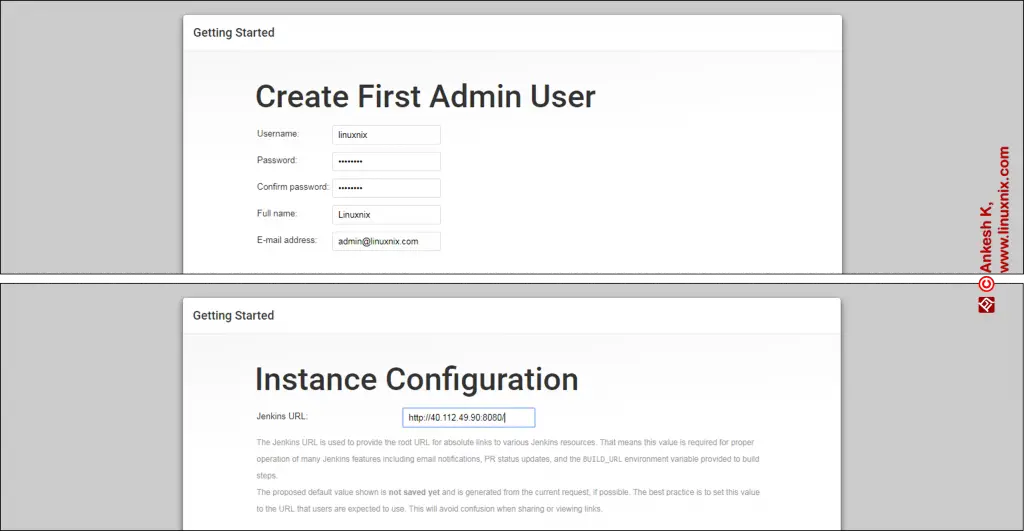
Step 4: After the plugins are installed, Jenkins will ask you to create an admin user and set the instance configuration.
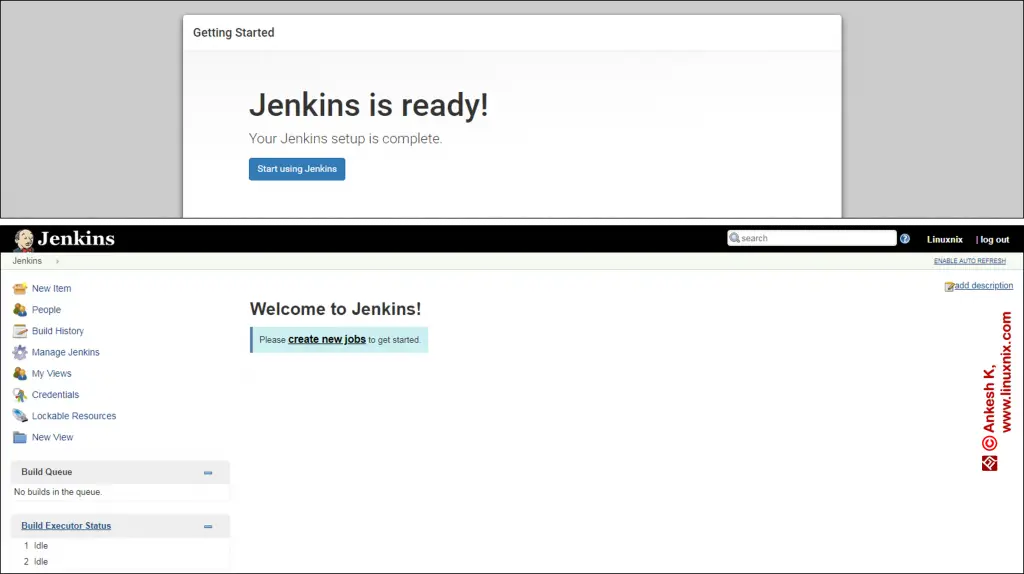
Step 5: And your Jenkins is ready to be used. Click on “Start using Jenkins” and you can see the Jenkins Dashboard.
Conclusion
In this blog we went through the three most common way of installing and configuring Jenkins. The fourth way is using containers where you can write a Dockerfile or use the pre-defined Jenkins image from the Docker Hub. The fifth way is to install Jenkins as a service provides as a SAAS provided by the vendors like Cloudbees, Azure, etc. We will discuss about these two ways in our future blogs.
Stay tuned with linuxnix.com.
Latest posts by Ankesh K (see all)
- Deep-Dive into Jenkins – What are all Jenkins functionalities ? - January 10, 2019
- What are different Maven Plugins and how to build a Maven project? - January 7, 2019
- What is a Maven POM File and what are different Maven Repositories? - January 3, 2019
- What is Maven and what are its benefits? - December 31, 2018
- What are the different ways to install Jenkins ? - December 27, 2018