
In our previous article, we have discussed about how to download the kali linux image file and how to install virtualbox. Now let’s get you started with the virtual machine.
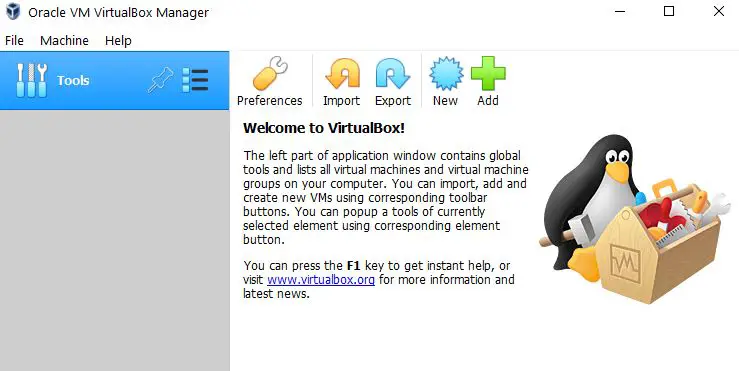
Step 01 : Open Virtualbox
VirtualBox should open once it has installed. Now you should be greeted by the VirtualBox Manager
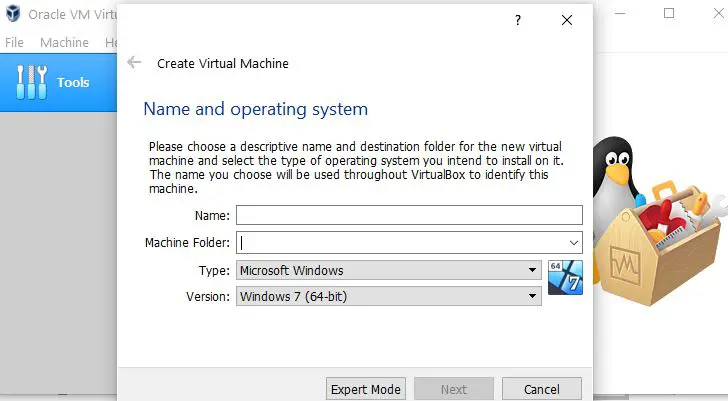
Step 02 : Create a new virtual machine
Since we will be creating a new virtual machine with Kali Linux, click New in the upperleft corner. This opens the Create Virtual Machine dialog shown below.
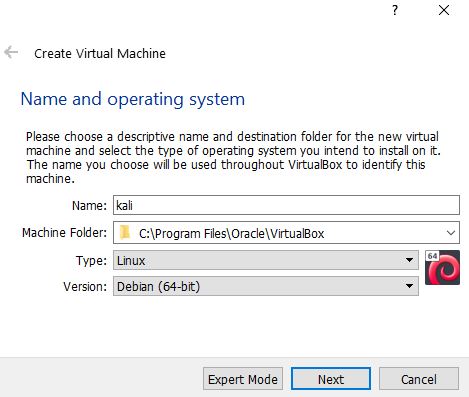
Give your machine a name and then select Linux from the Type dropdown menu. Finally, select Debian (64bit) from the third dropdown menu (unless you are using the 32bit version of Kali, in which case select the Debian 32bit version).
Step 03 : Allocate system resources
Here, you need to select how much RAM you want to allocate to this new virtual machine.
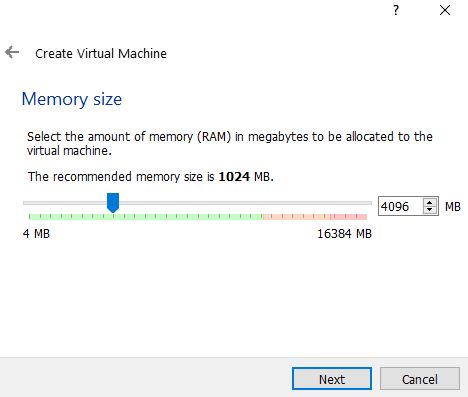
The more RAM you give your virtual machine, the better and faster it will run, but you must also leave enough RAM for your host operating system and any other virtual machines you might want to run simultaneously. Your virtual machines will not use any RAM when you are not using them, but they will use hard drive space.
Click Next, and you’ll get to the Hard Disk screen. Choose Create Virtual Hard Disk and click Create.
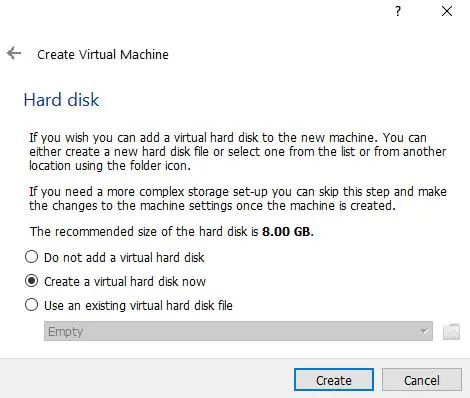
In the next screen, you can decide whether you want the hard drive you are creating to be allocated dynamically or at a fixed size. If you choose Dynamically Allocated, the system will not take the entire maximum size you allocate for the virtual hard disk until you need it, saving more unused hard disk space for your host system. I suggest you select dynamically allocated.

Click Next, and you’ll choose the amount of hard drive space to allocate to the VM and the location of the VM
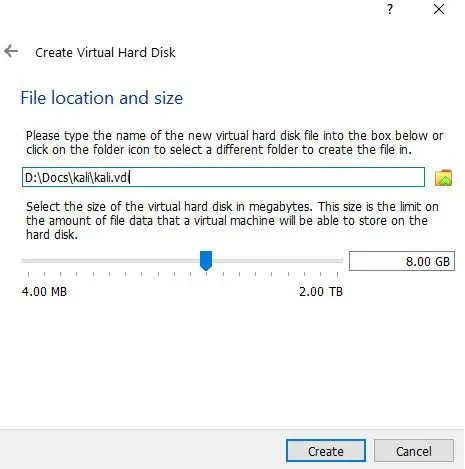
The default is 8GB. I usually find that to be a bit small and recommend that you allocate 20–25GB at a minimum. Remember, if you chose to dynamically allocate hard drive space, it won’t use the space until you need it, and expanding your hard drive after it has already been allocated can be tricky, so better to err on the high side. Click Create, and you’re ready to go!
Step 04 : Installing Kali on the VM
At this point, you should see a screen like below.
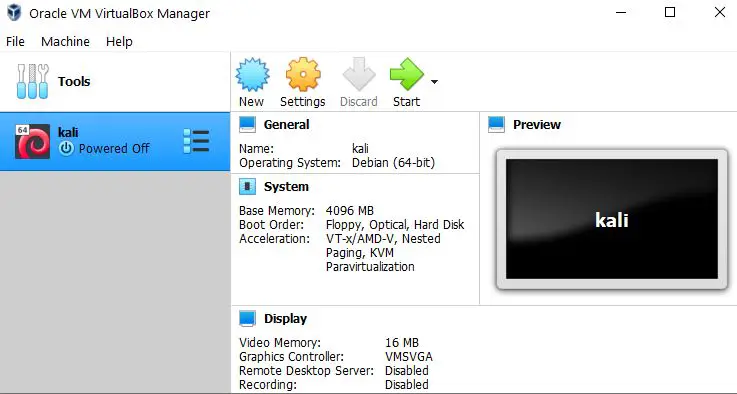
Now you’ll need to install Kali. Note that on the left of the VirtualBox Manager, you should see an indication that Kali VM is powered off. Click the Start button (green arrow icon).
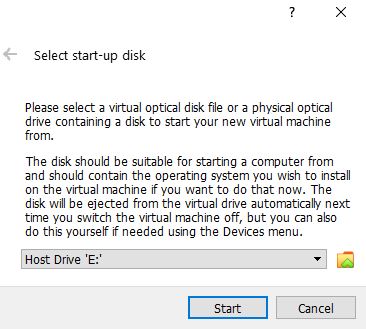
The VirtualBox Manager will then ask where to find the startup disk. You’ve already downloaded a disk image with the extension .iso, which should be in your Downloads folder. Click the folder icon to the right, navigate to the Downloads folder, and select the Kali image file
Then click Start. Congratulations, you’ve just installed Kali Linux on a virtual machine!
Latest posts by Ruwantha Nissanka (see all)
- 4 ways to hide your identity using linux - January 18, 2021
- How To Install Kali Linux in Virtualbox - December 31, 2020
- Kali Linux : The OS That Hackers Use - December 31, 2020
- How to monitor user activity in Linux with Acct - December 30, 2020
- Debsecan : You will not miss another security update - December 28, 2020

